This is a collection of photos and videos of the activities & processes from design to finish, from the PiServer project.
PhotoShoot

Built up PiServer 1.0
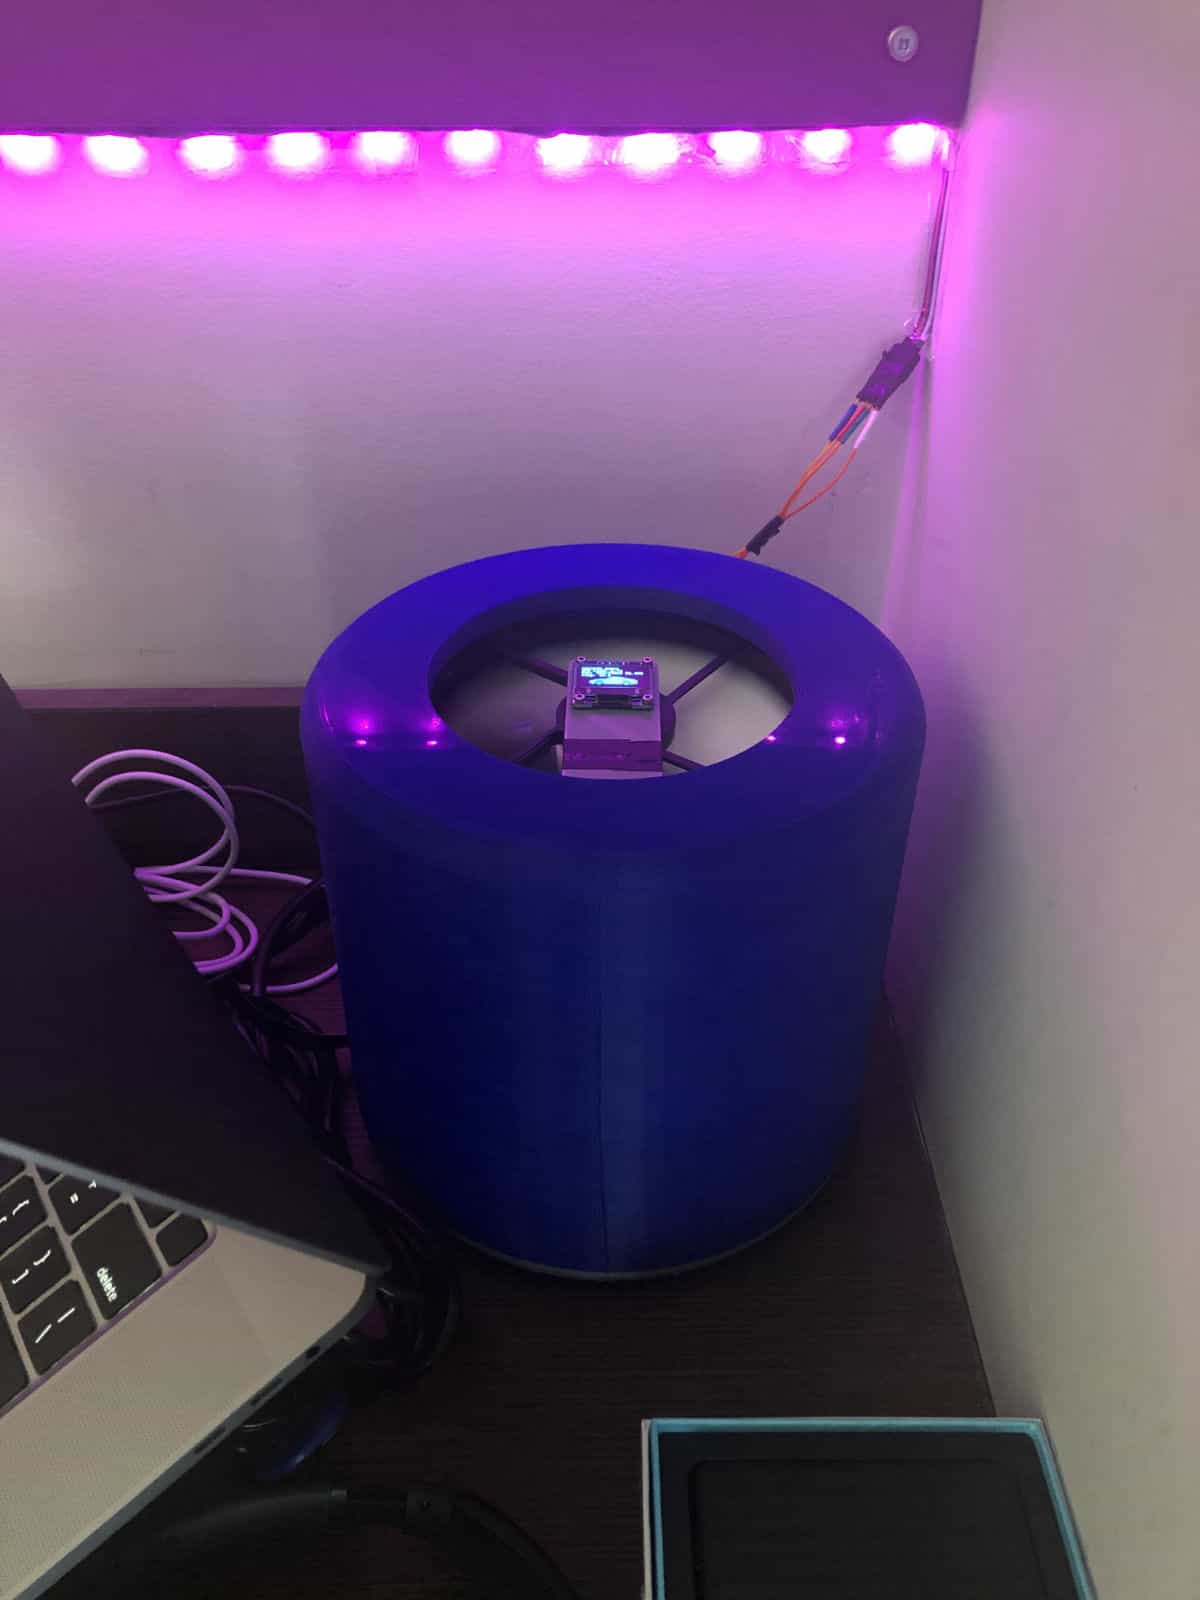
PiServer on my desk and powering an RGB LED light strip
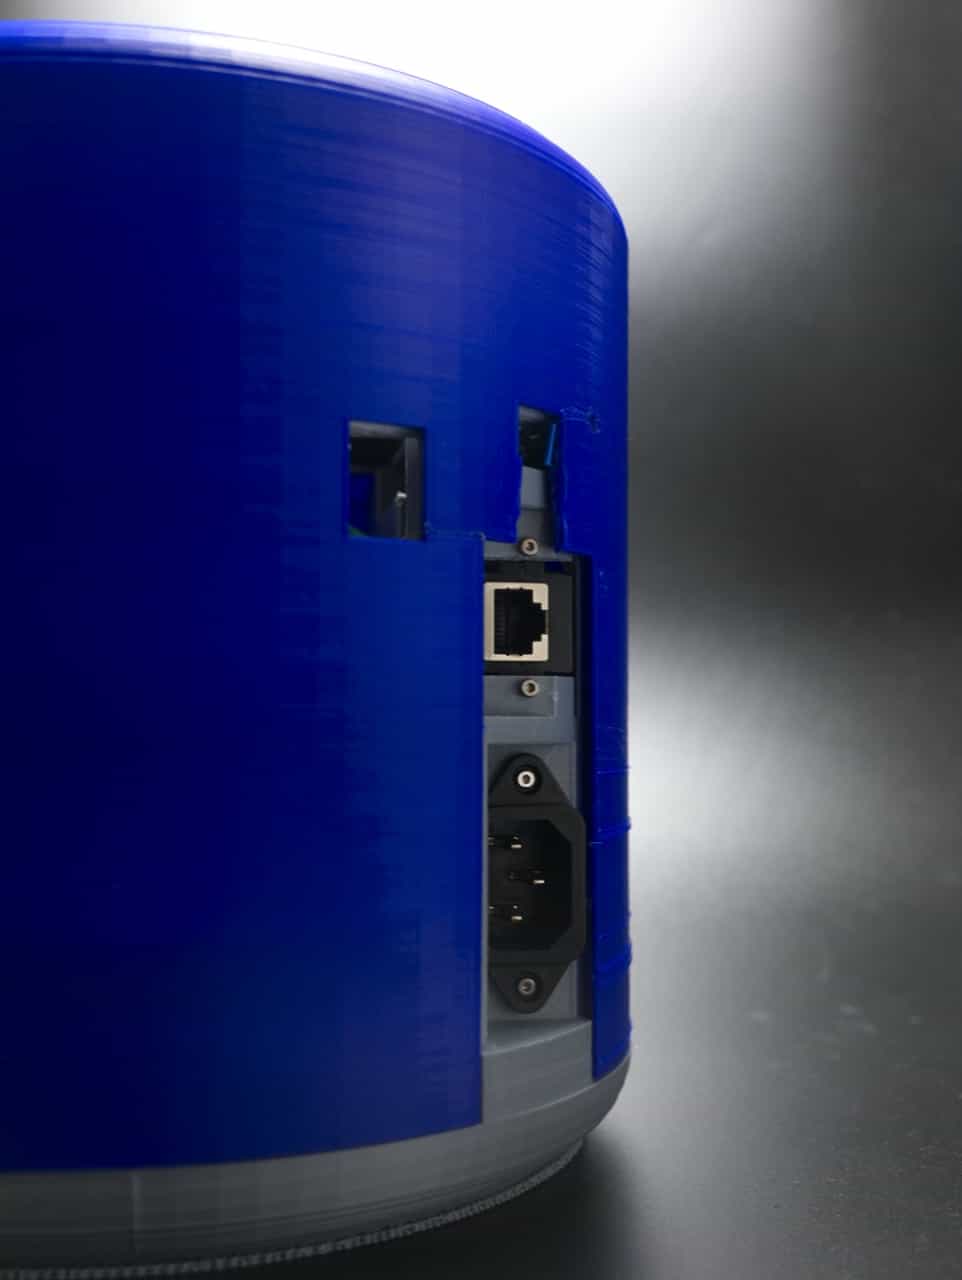
External ports
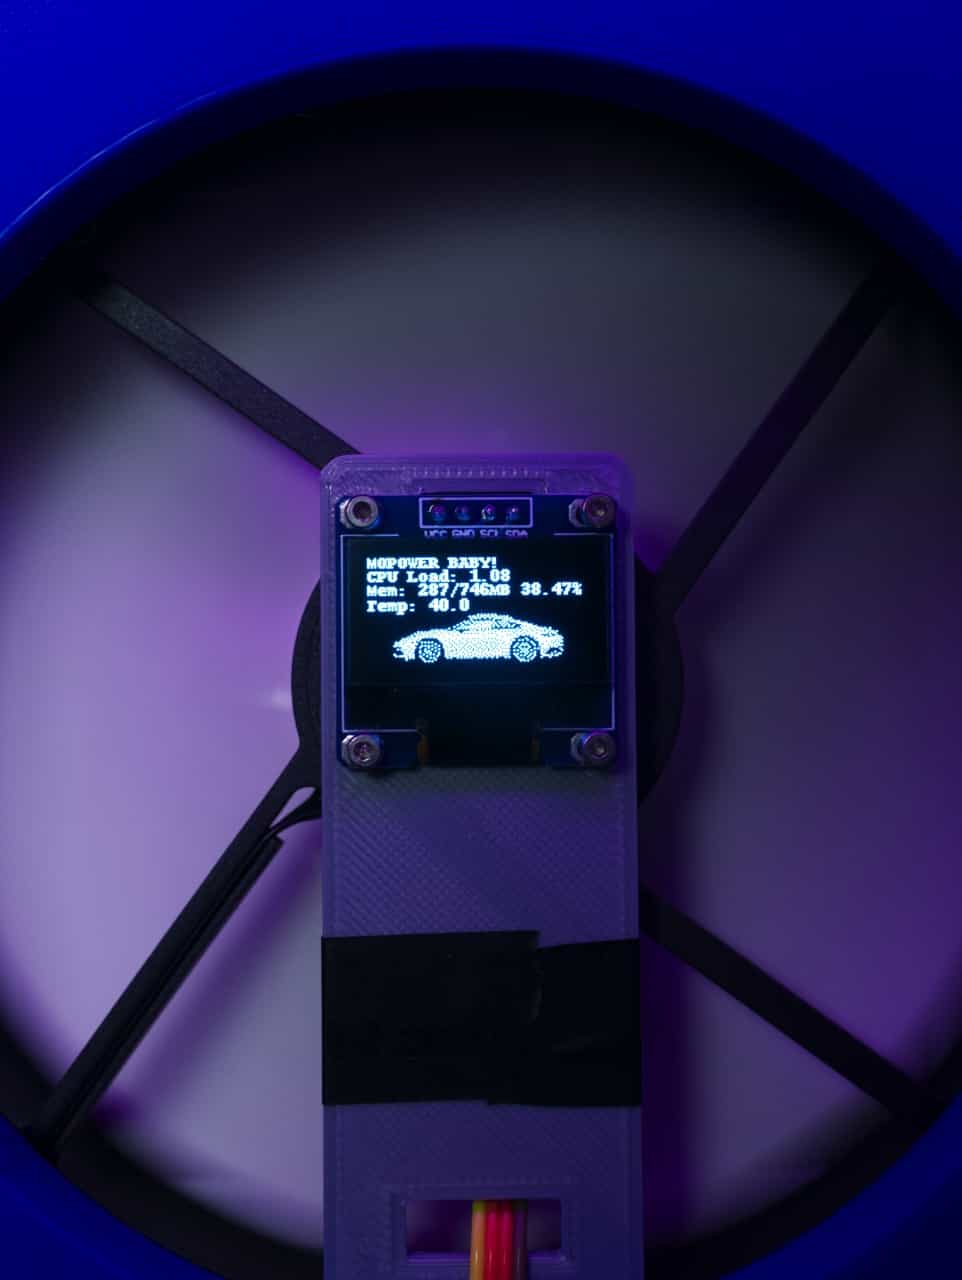
Top OLED display
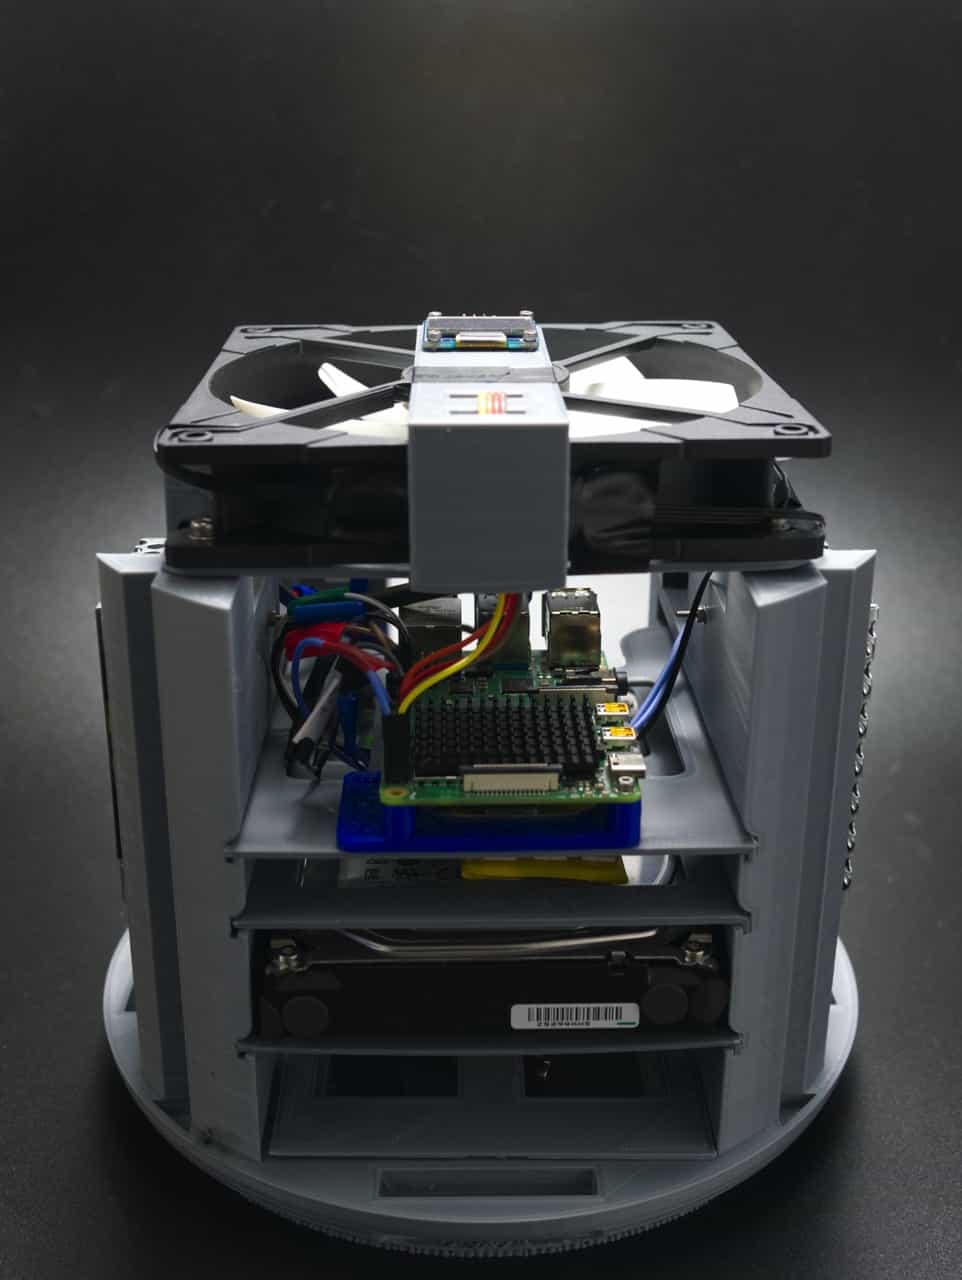
Front view
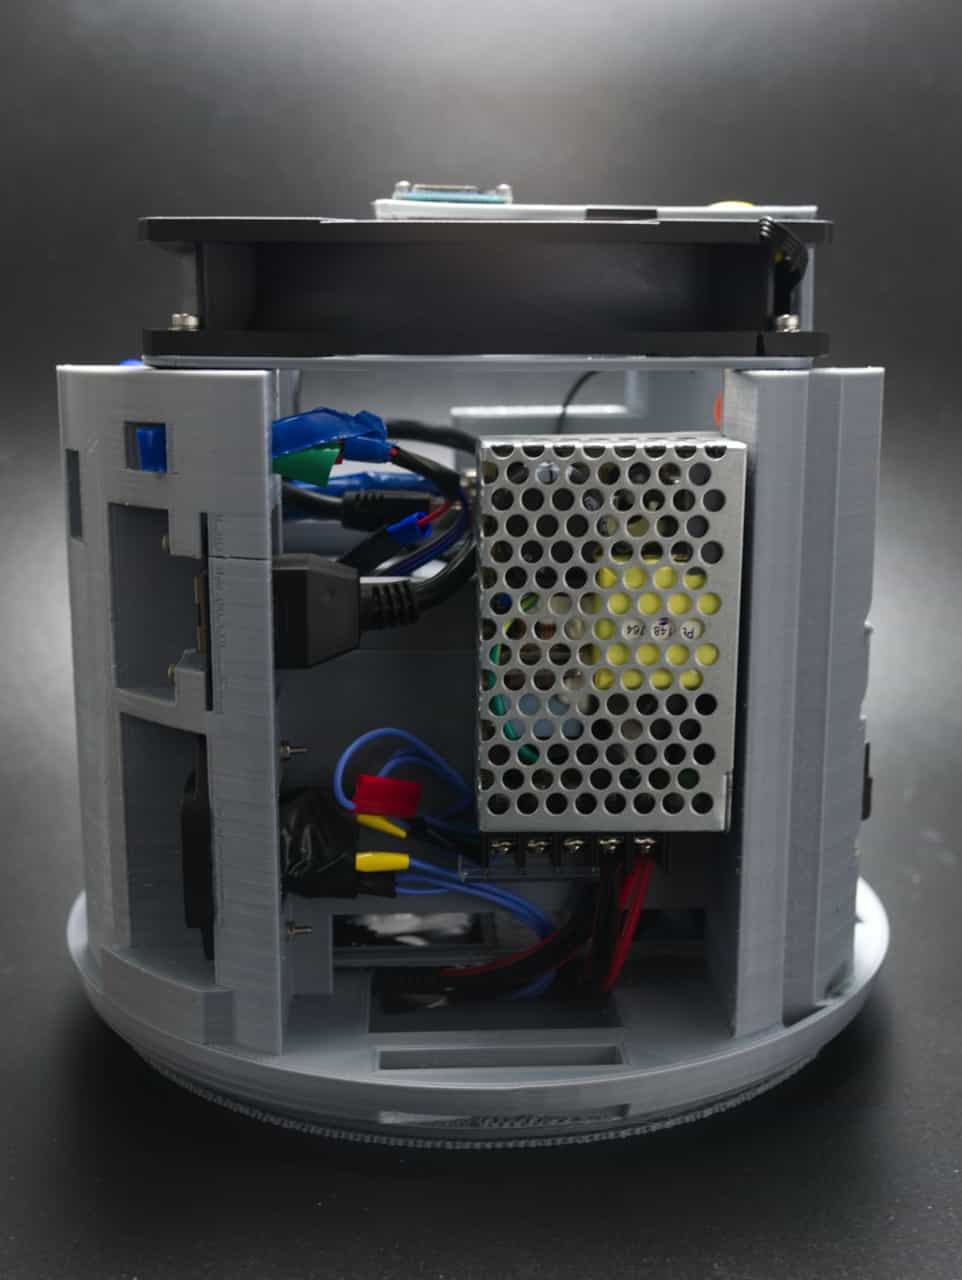
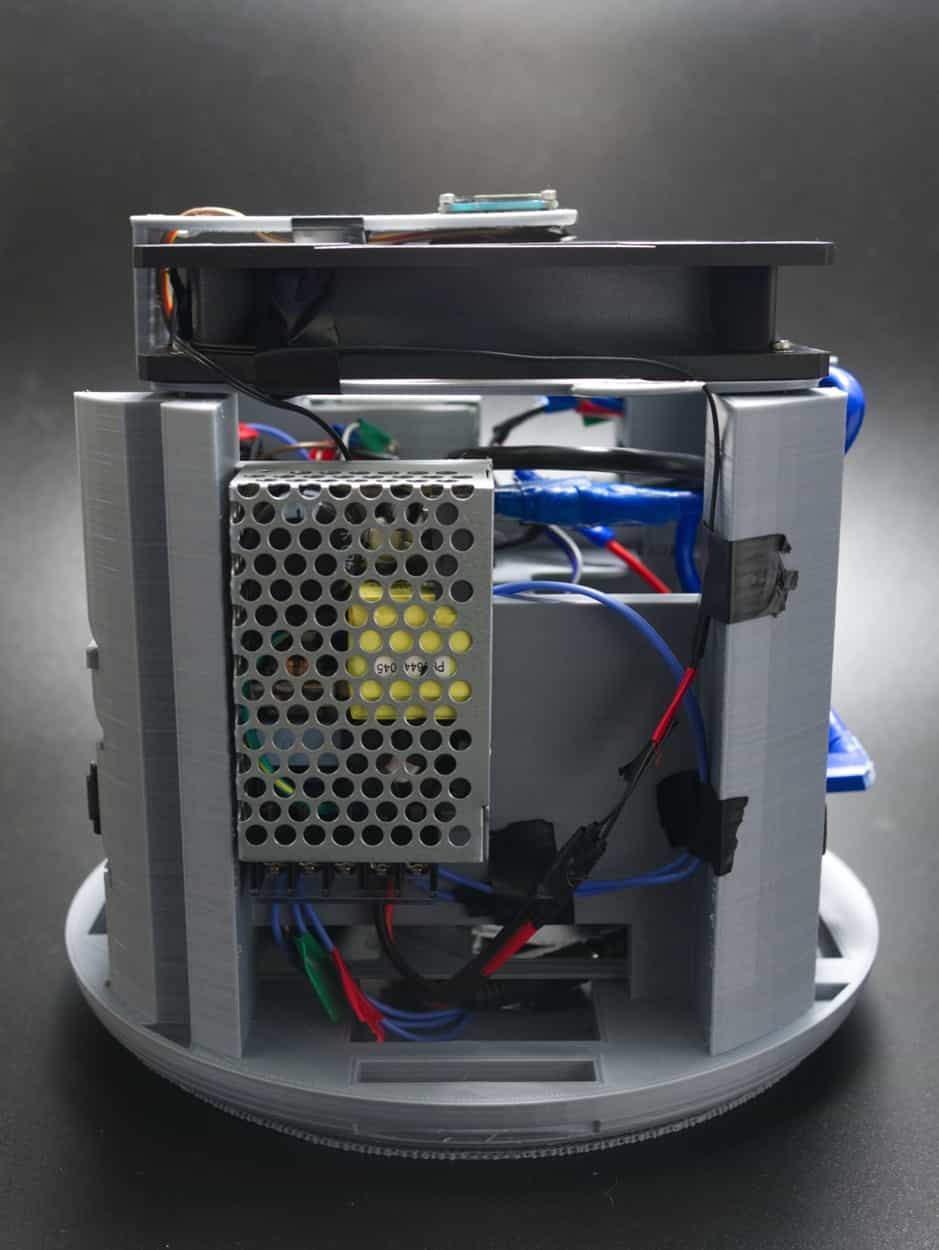
Left side view showing connectors, wiring and 12V PSU that powers the HDD and top fan
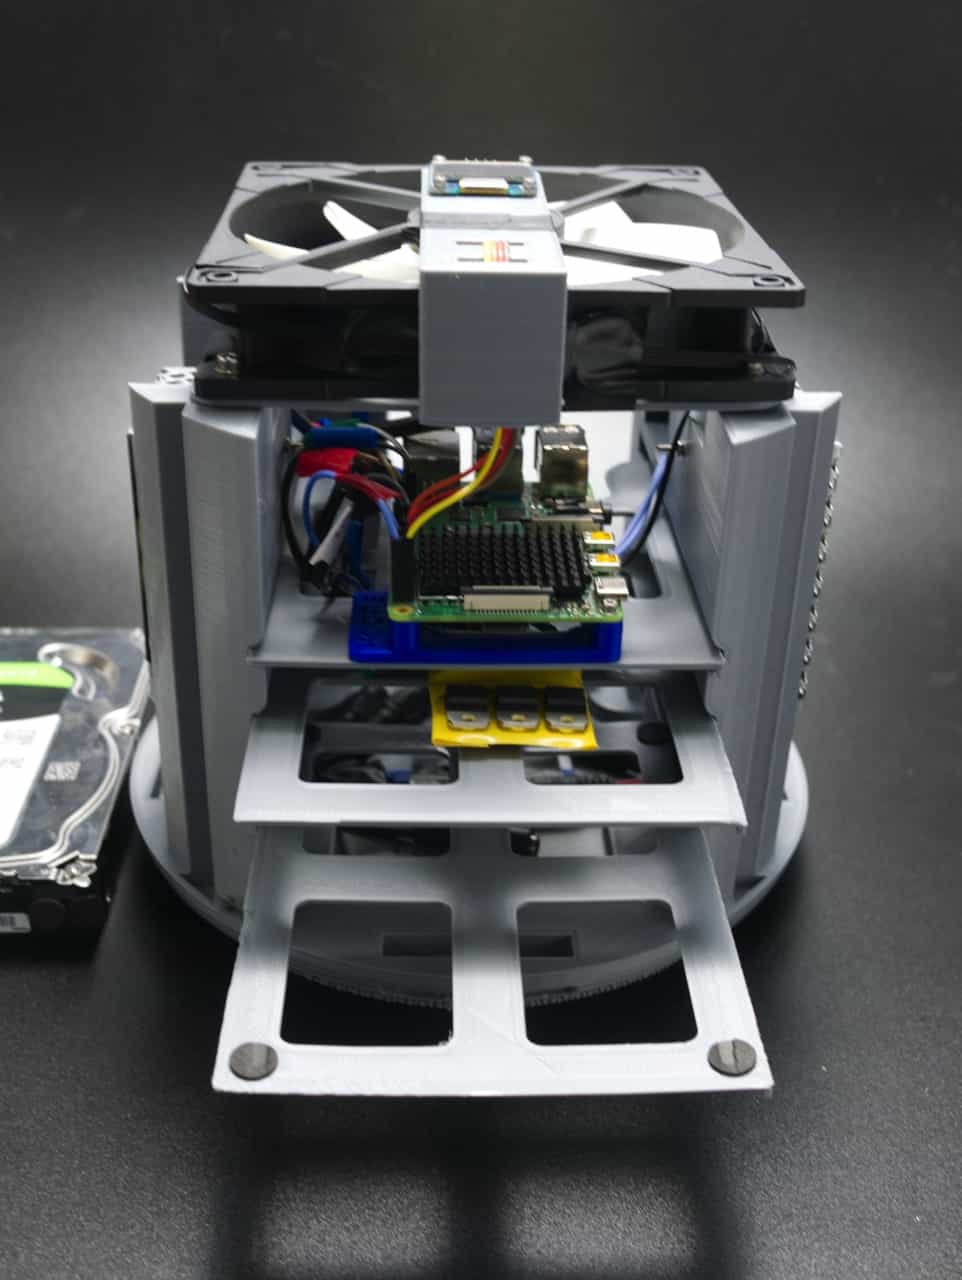
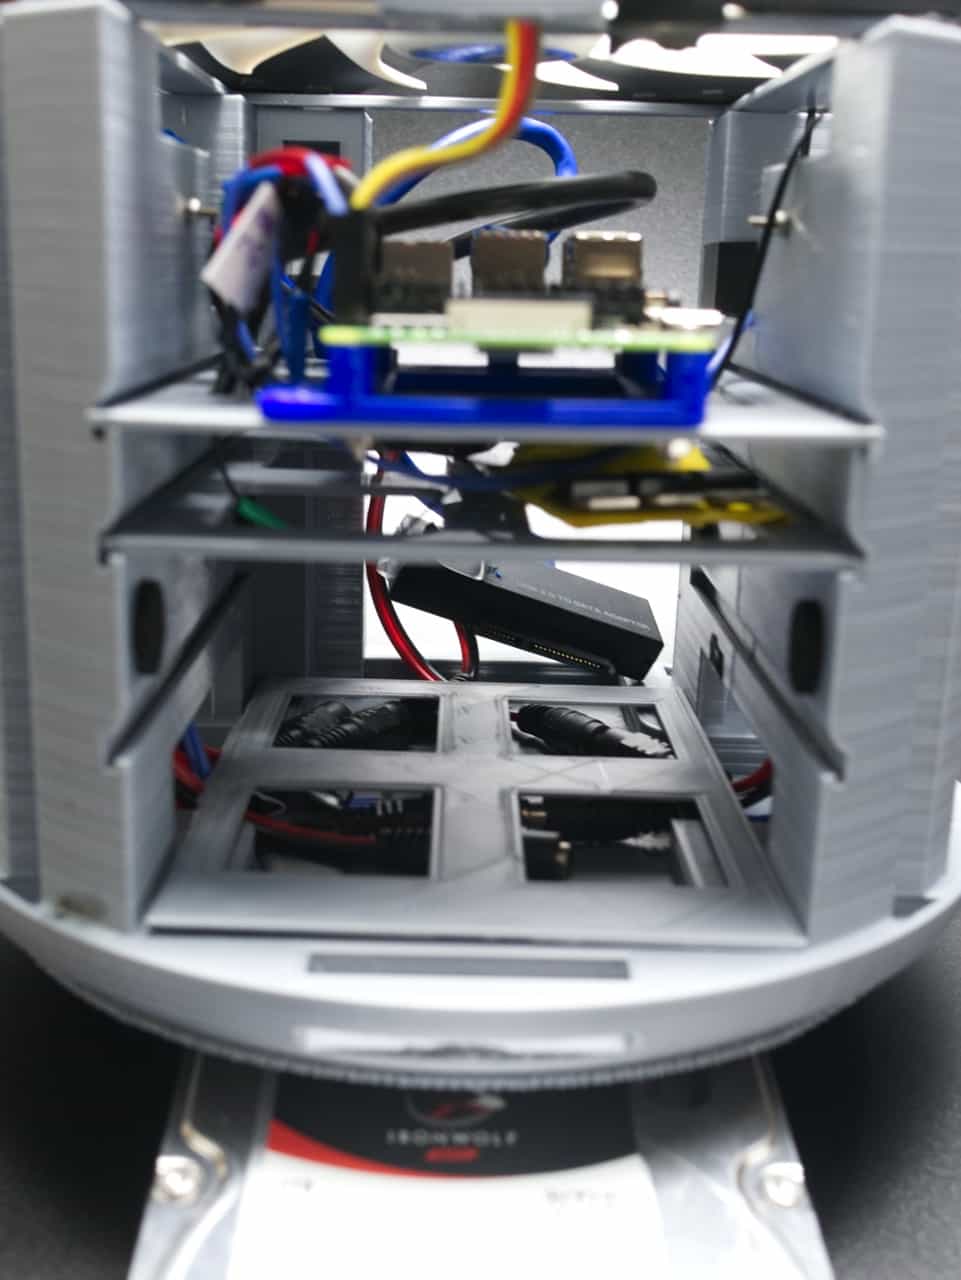
Front view showing tray design and 'yellow' covered MOSFETs for RGB LED control
HDD Tray with felt pads to reduce vibration
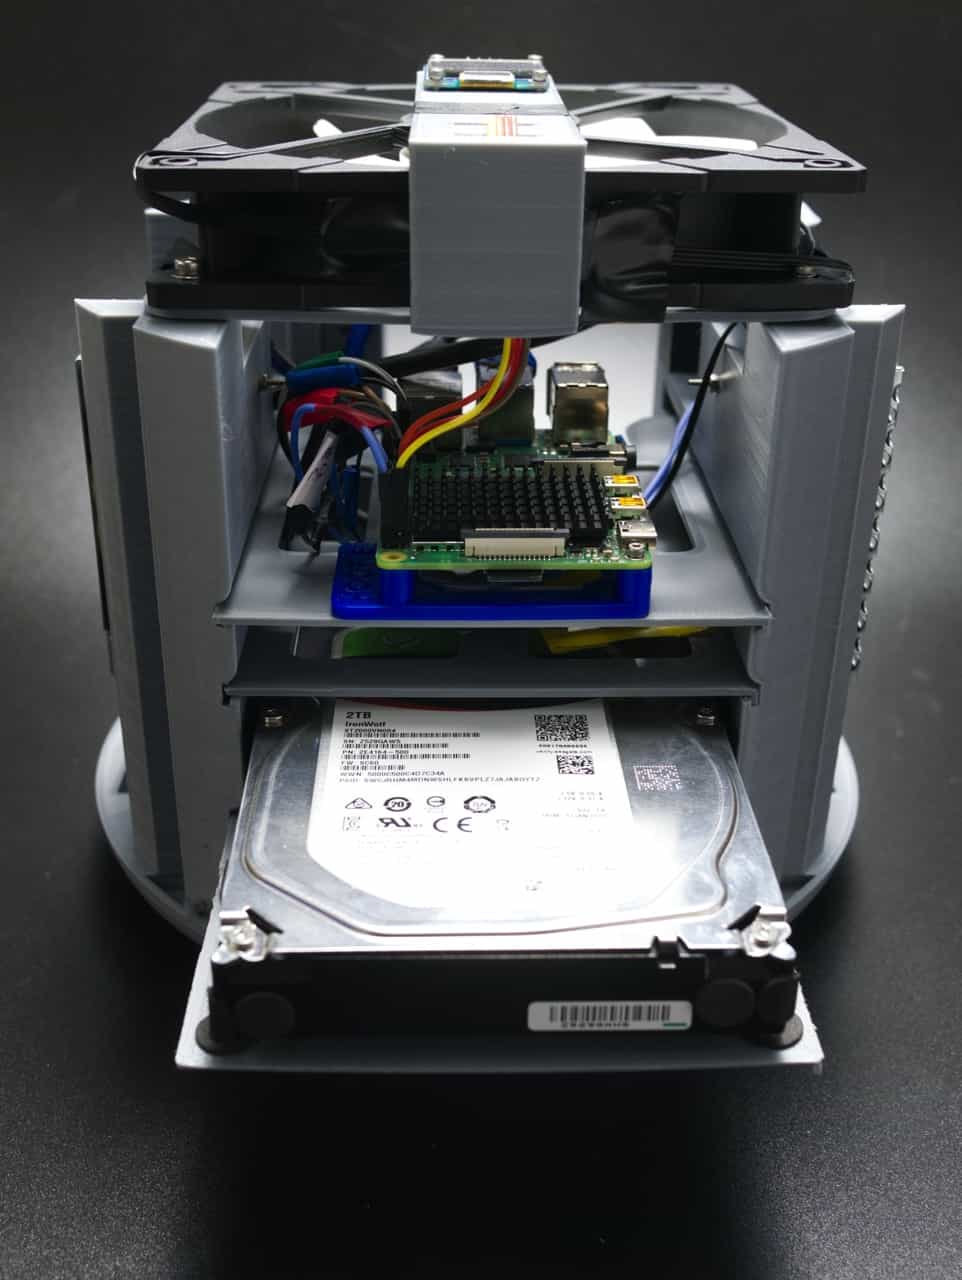
3.5 inch 2TB seagate iron wolf HDD on tray
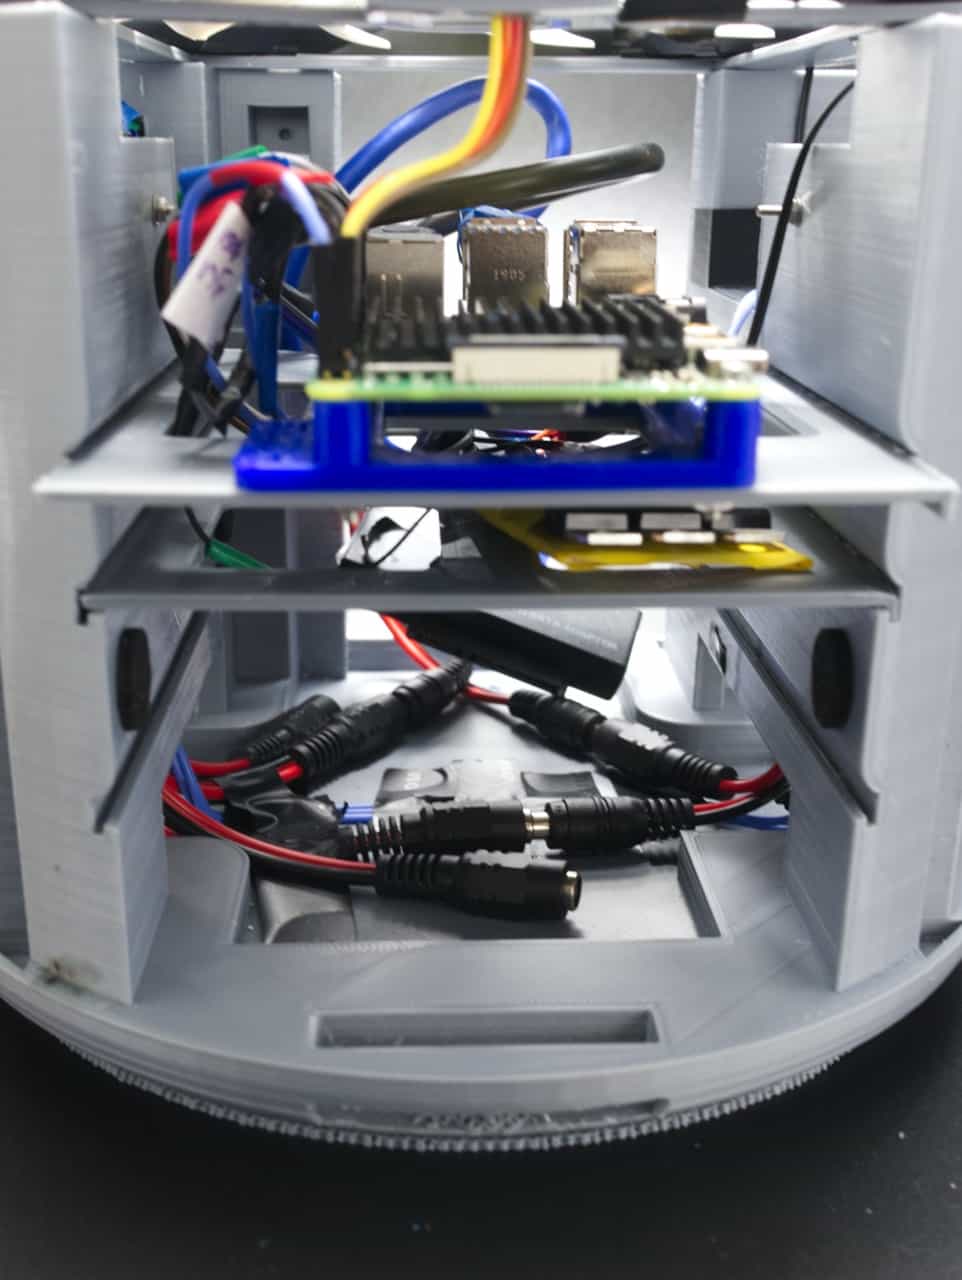
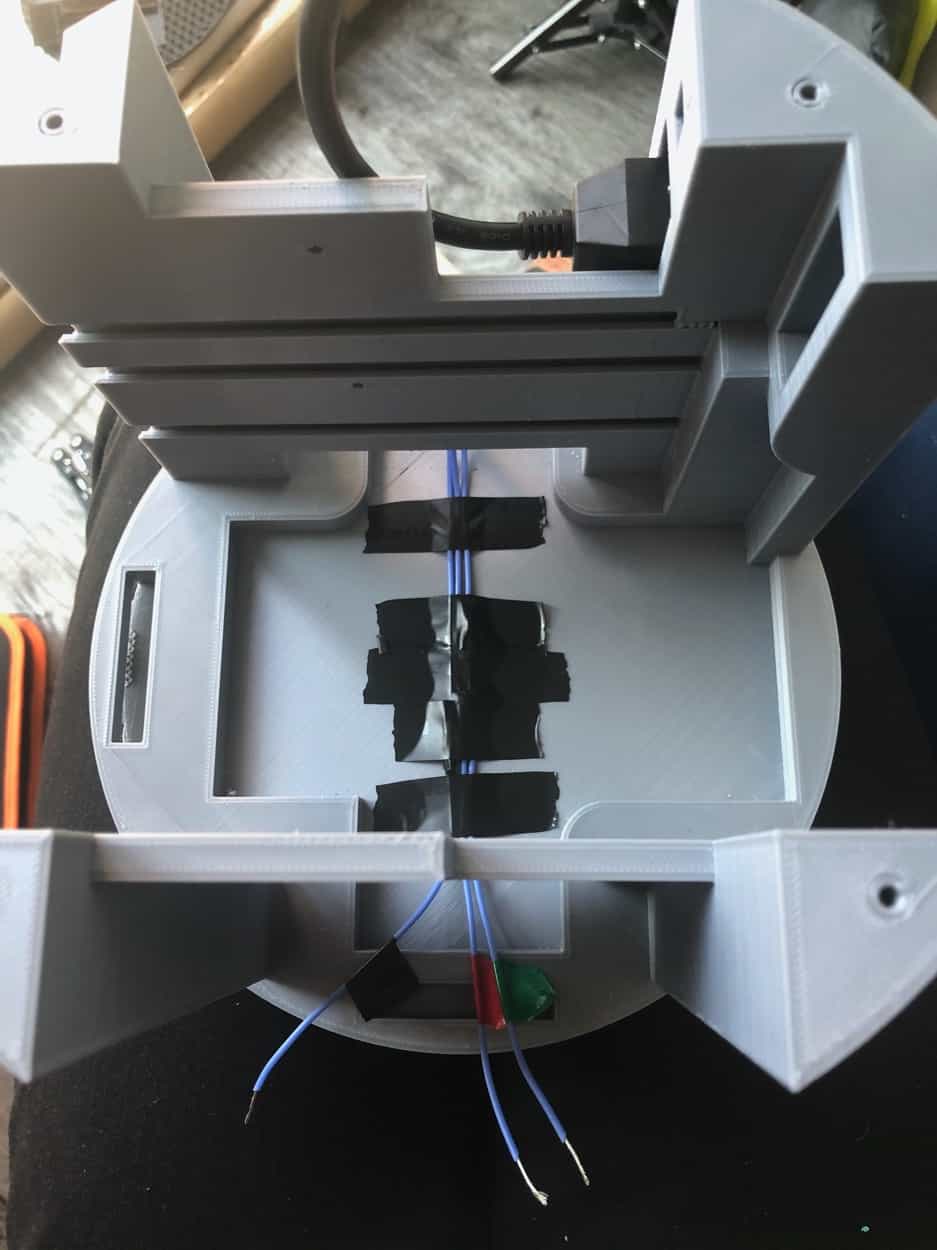
Front view showing Raspberry Pi and dc connectors in recessed cable area
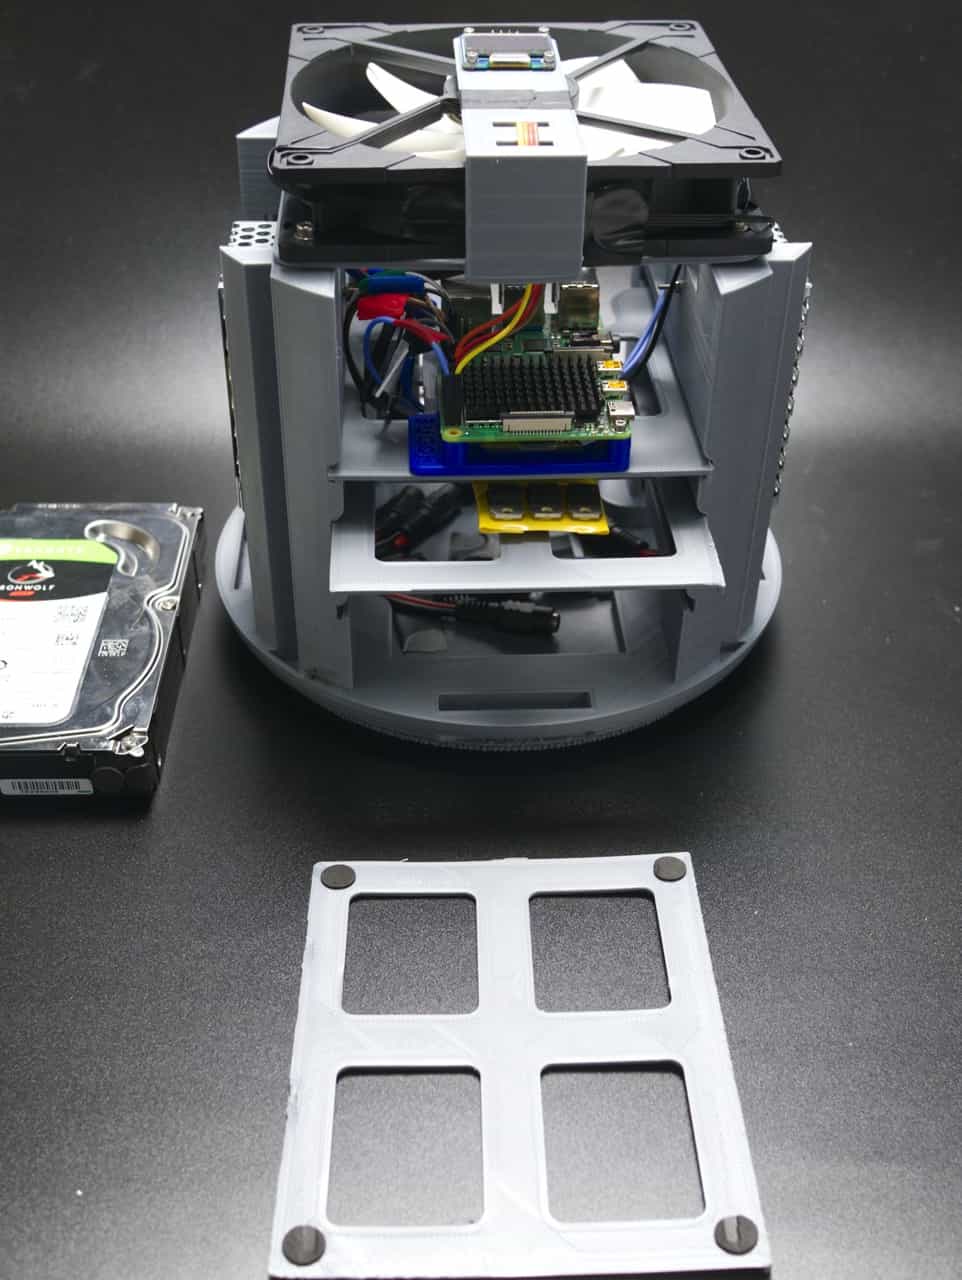
Bottom tray in place to partly cover cables
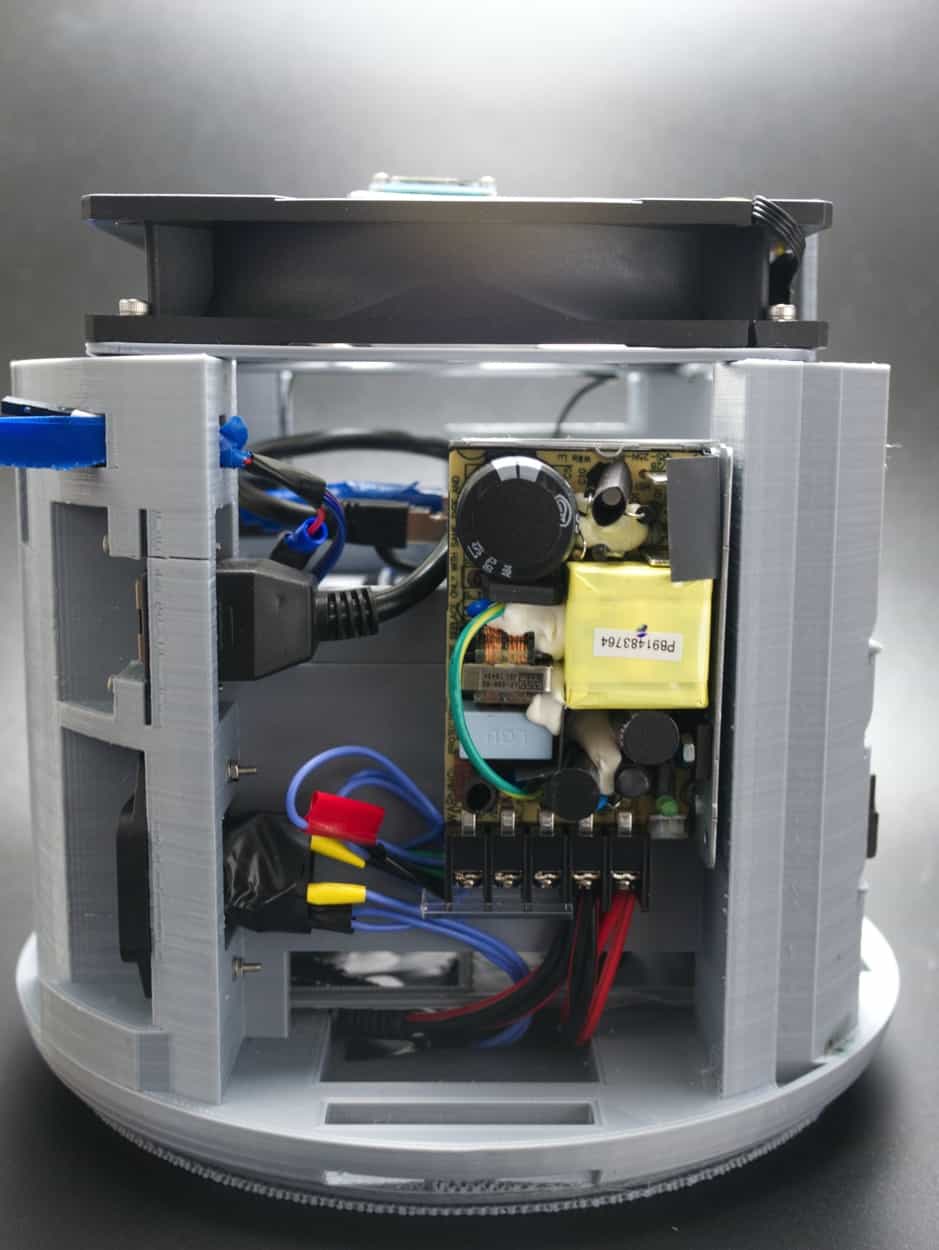
Left side showing 12V PSU with shroud removed
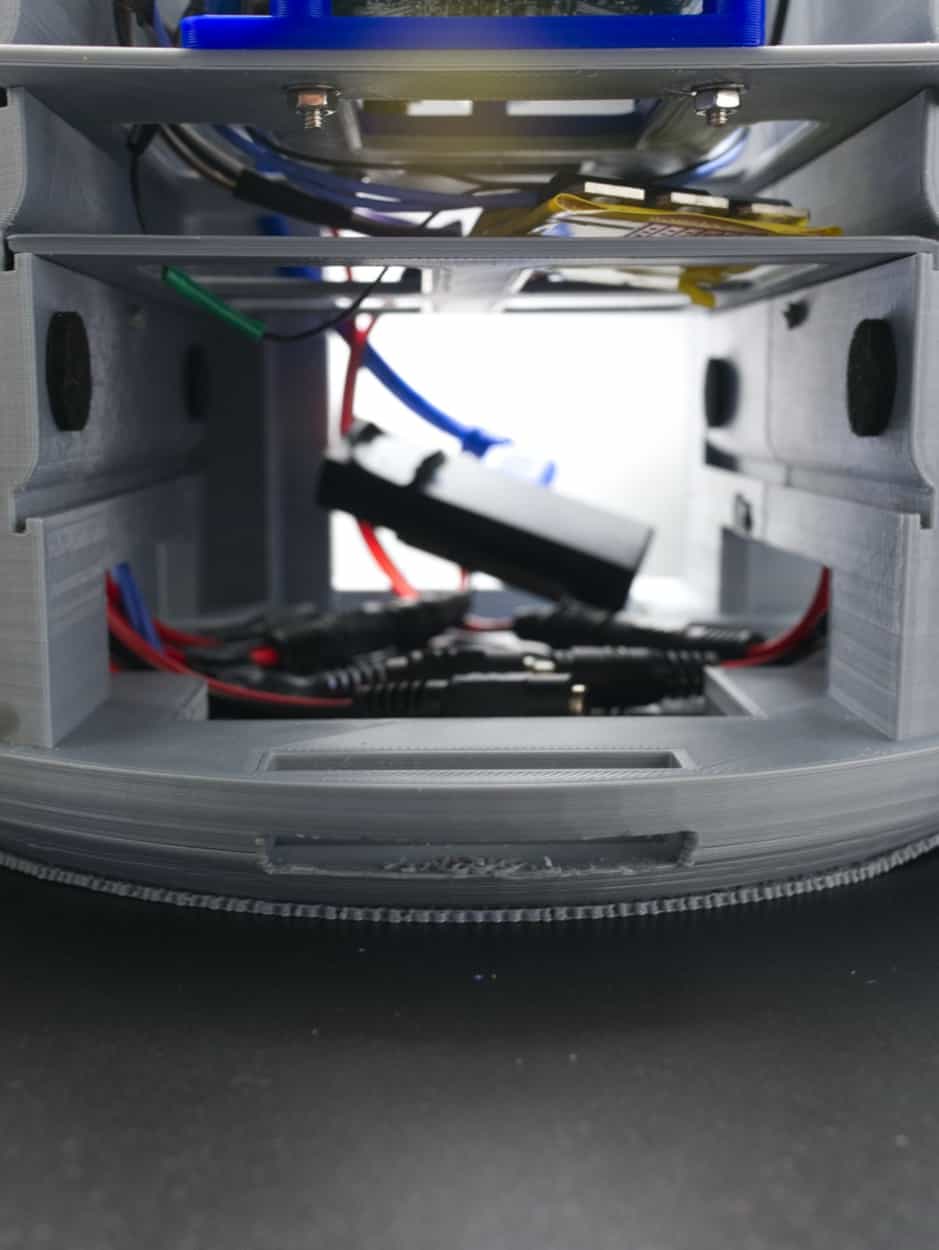
Front view showing 1 of 3 ventilation slits and felt pads in HDD compartment
Right side showing 5V PSU that powers the Raspberry Pi 4
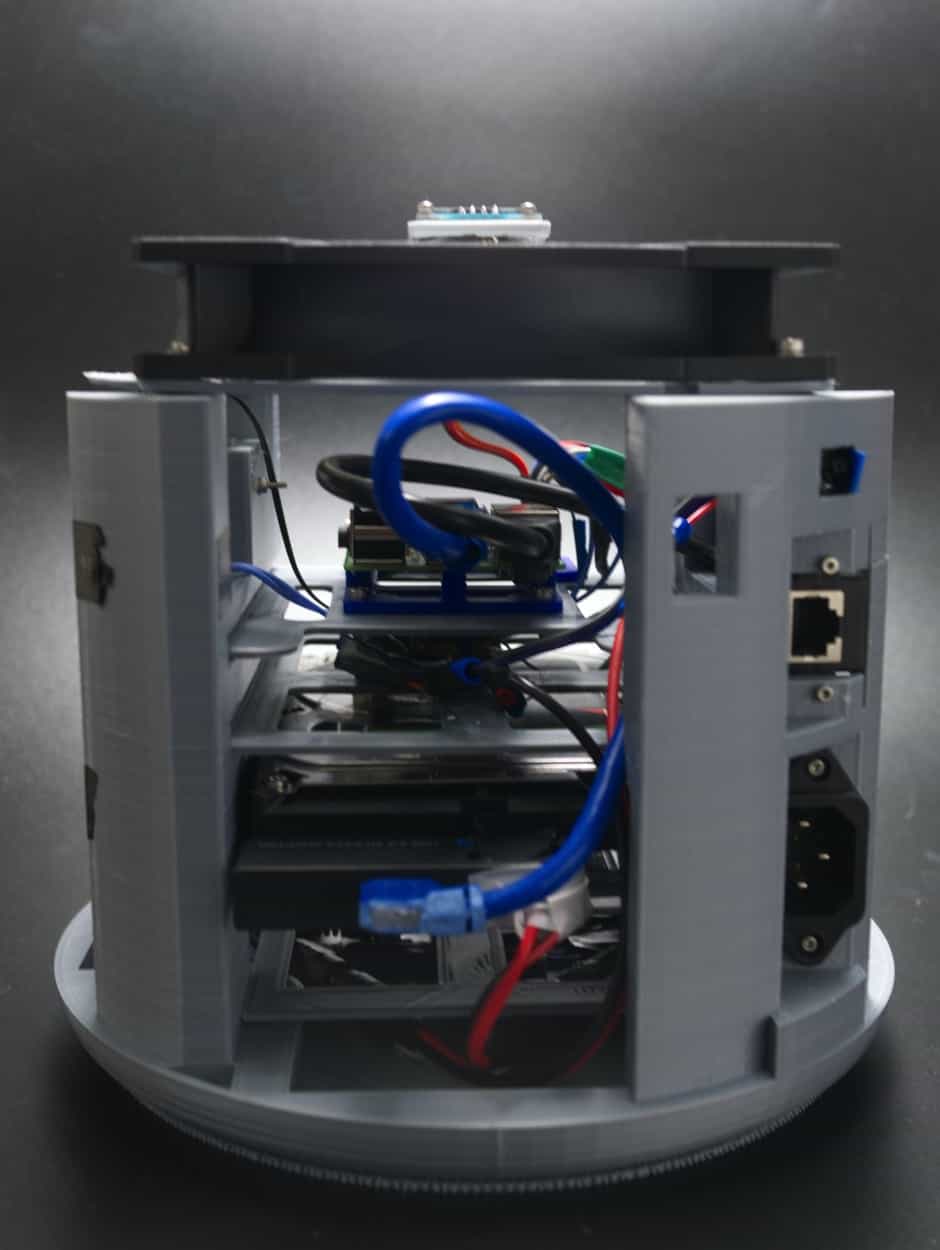
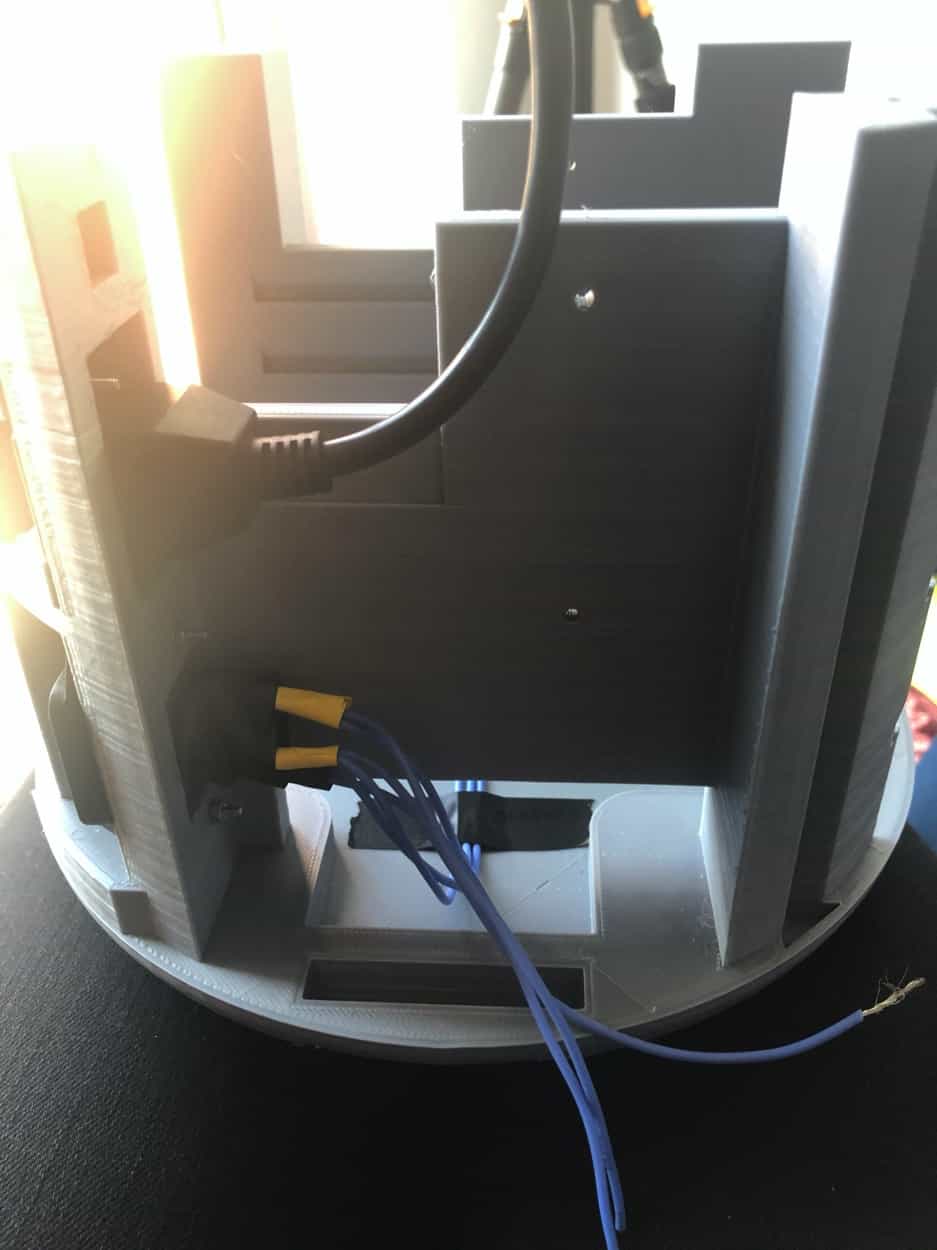
Rear view showing the inside amd cabling in PiServer
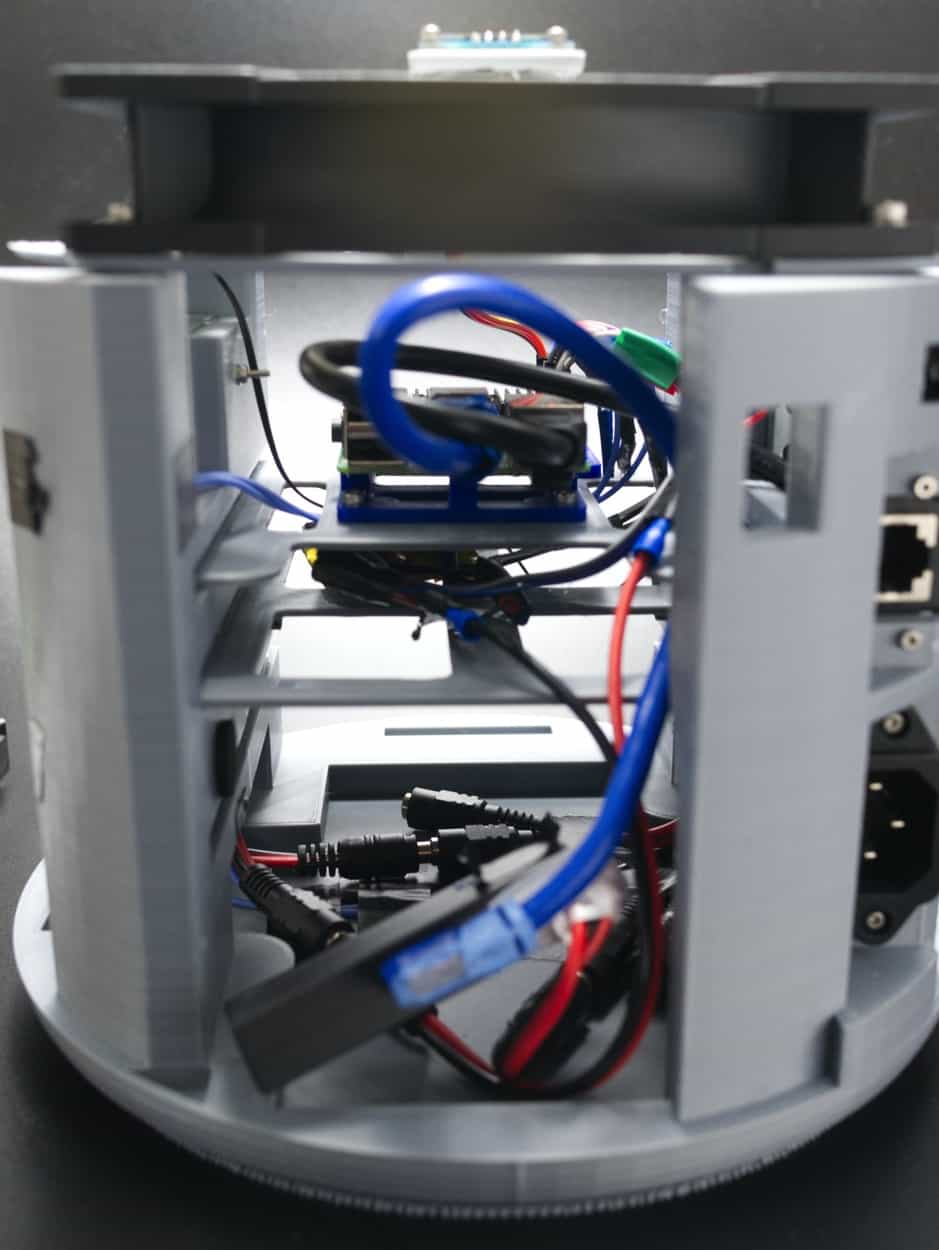
A closer look of the rear with the HDD taken out
Design
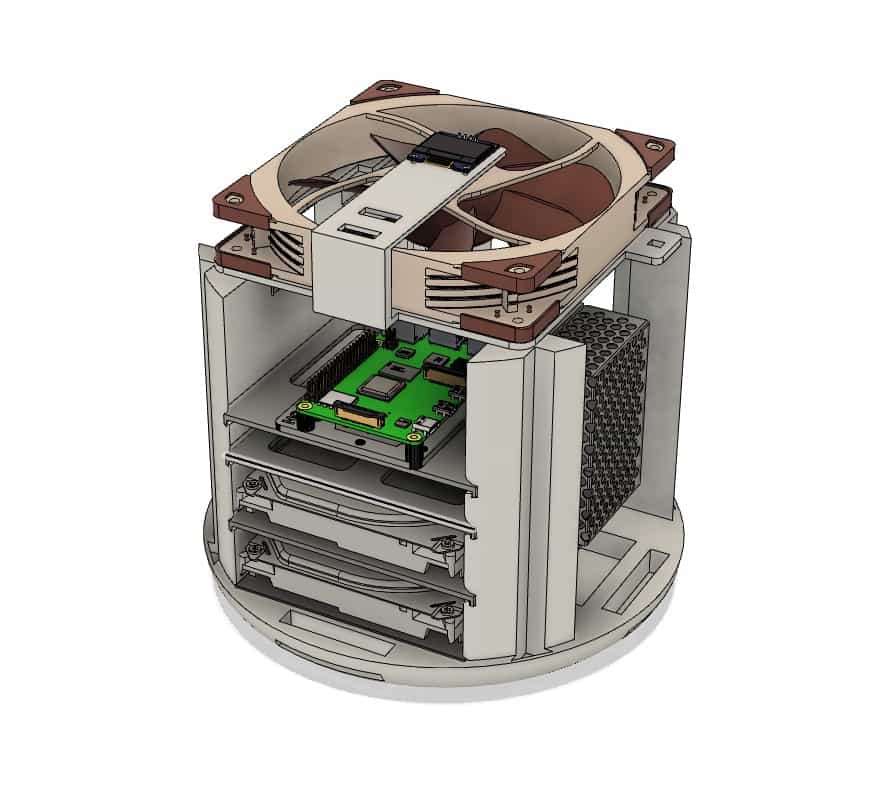
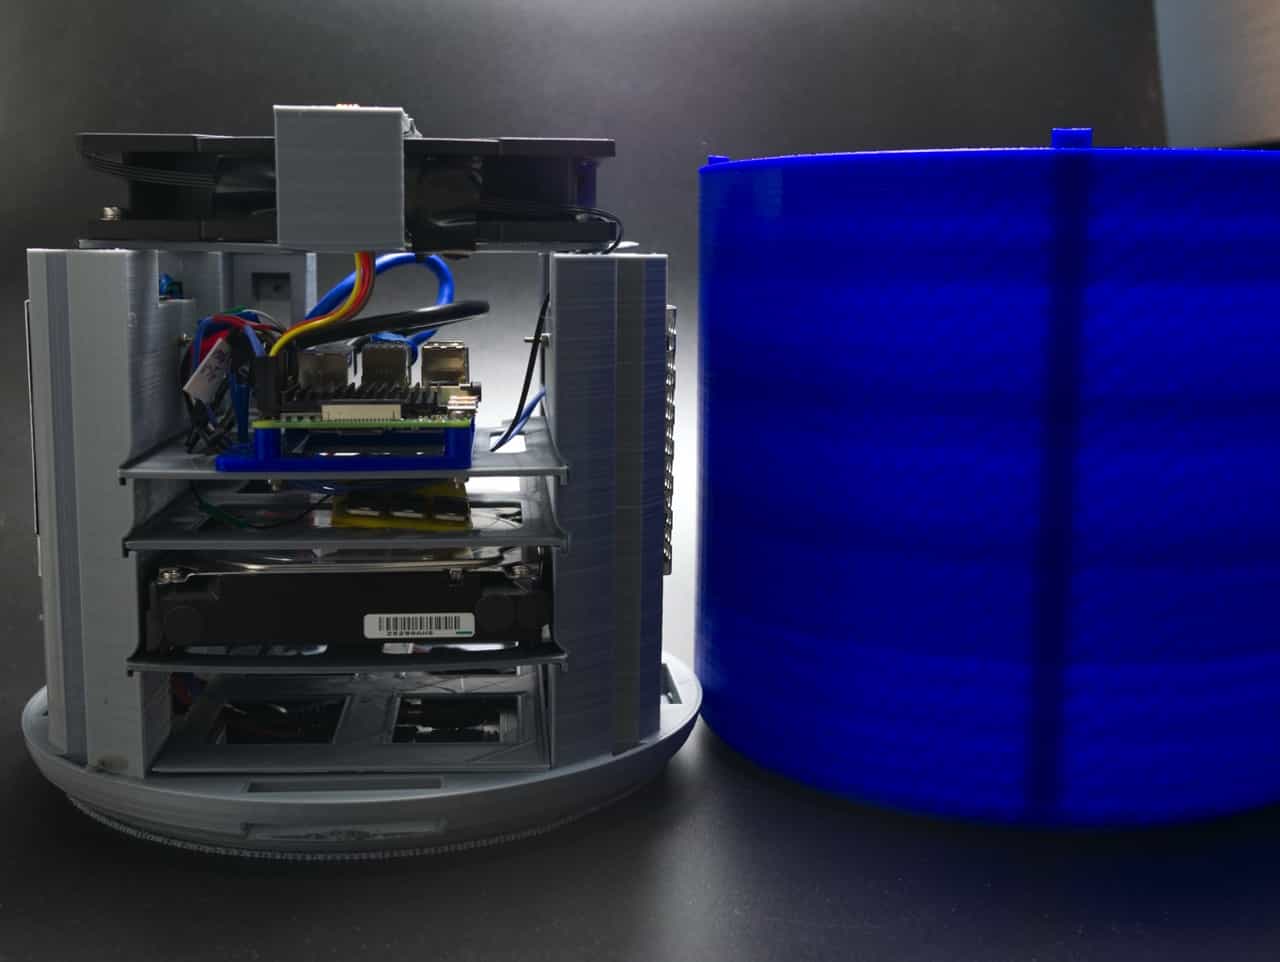
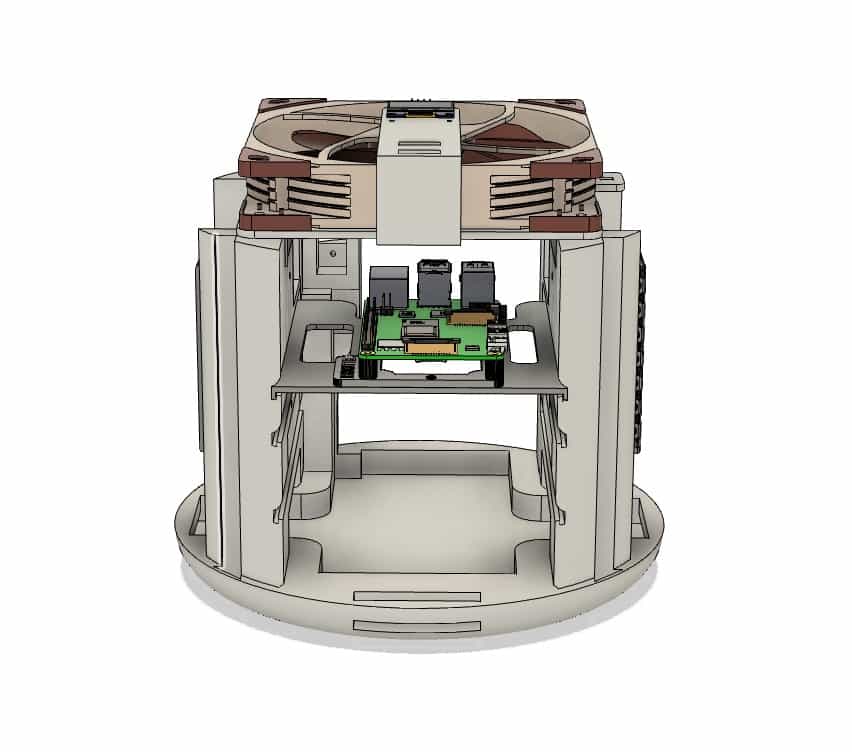
Built Piserver without casing. Space available for two 3.5 inch HDDs
Front View with visible front airflow vent at the base of the chassis
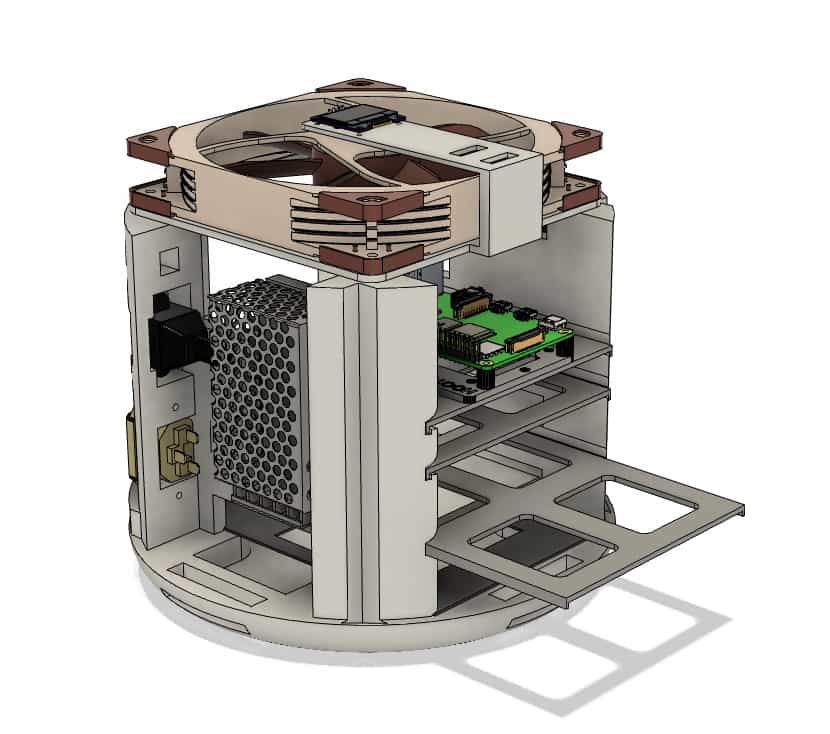
Left-side view showing 12V PSU, IEC connector and Ethernet adapter
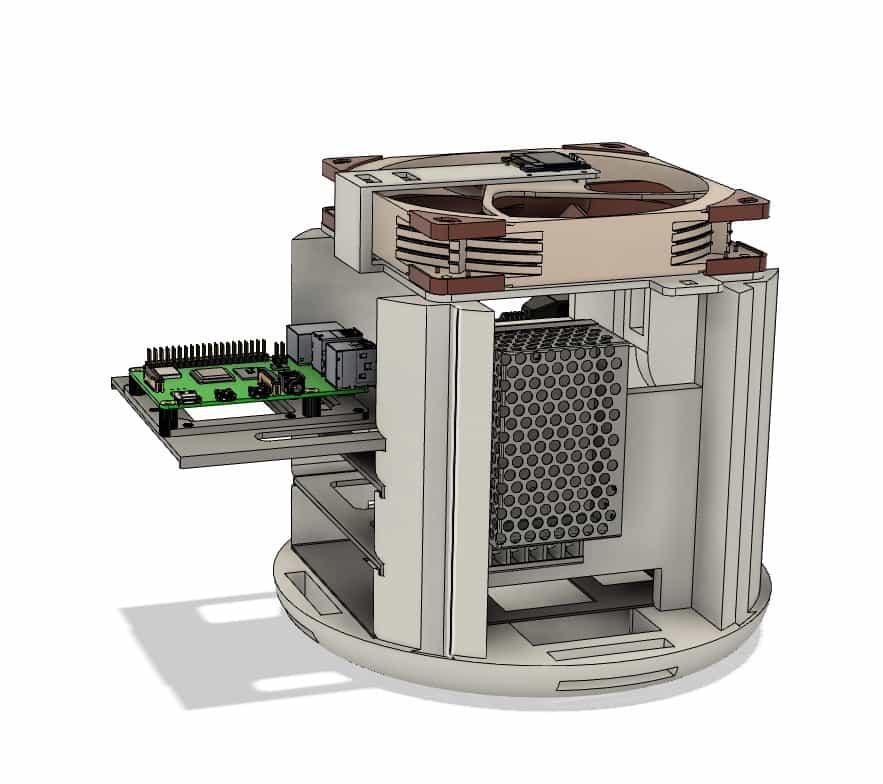
Right-side view showing 5V PSU and tray system with a Raspberry Pi mounted
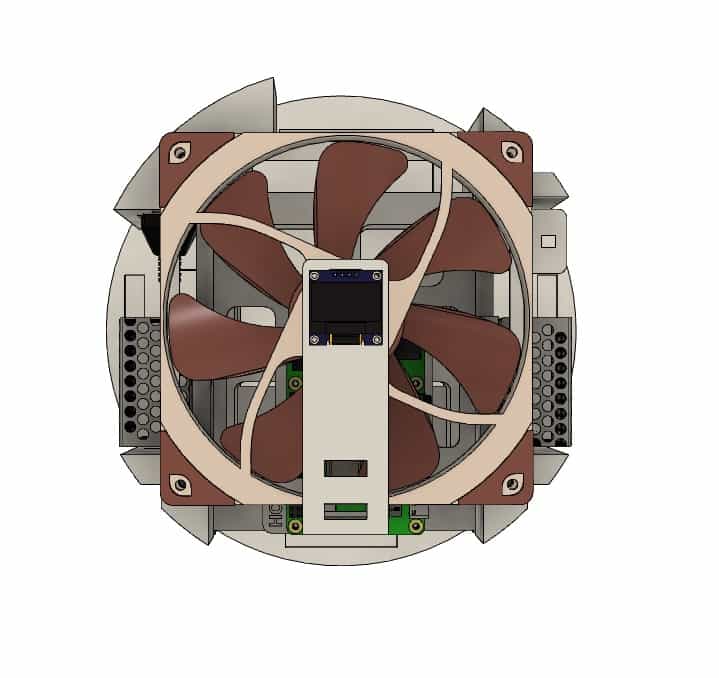
Top View showing a 140mm fan and an OLED display
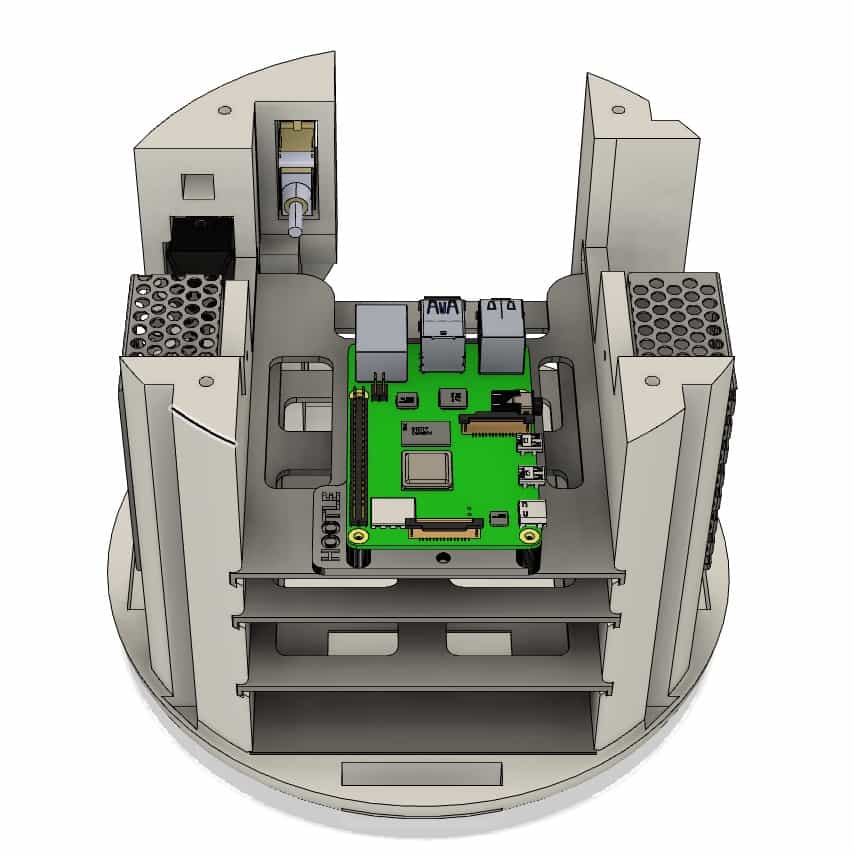
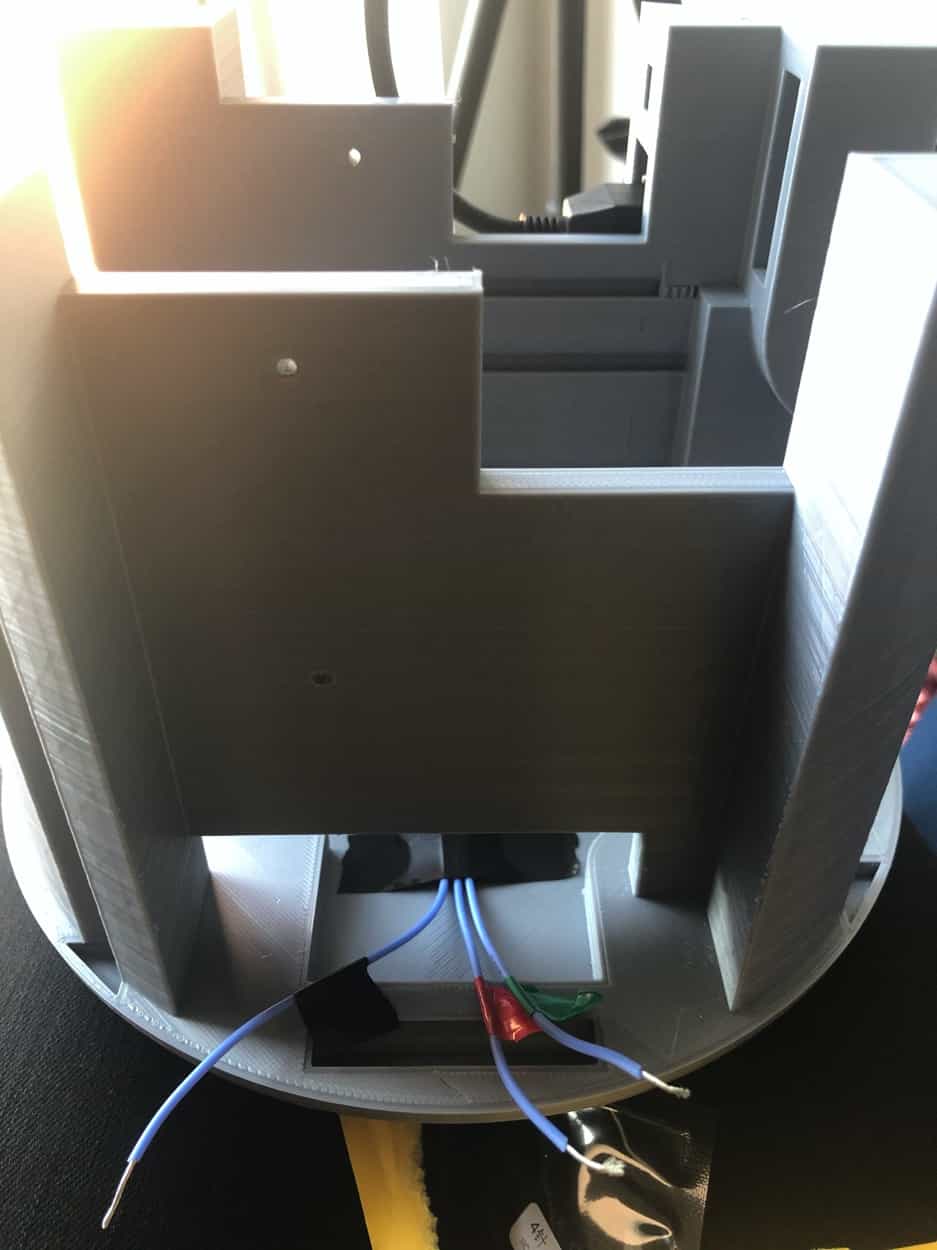
Top View without fan mounted, exposing the inside of the chassis
Prototypes
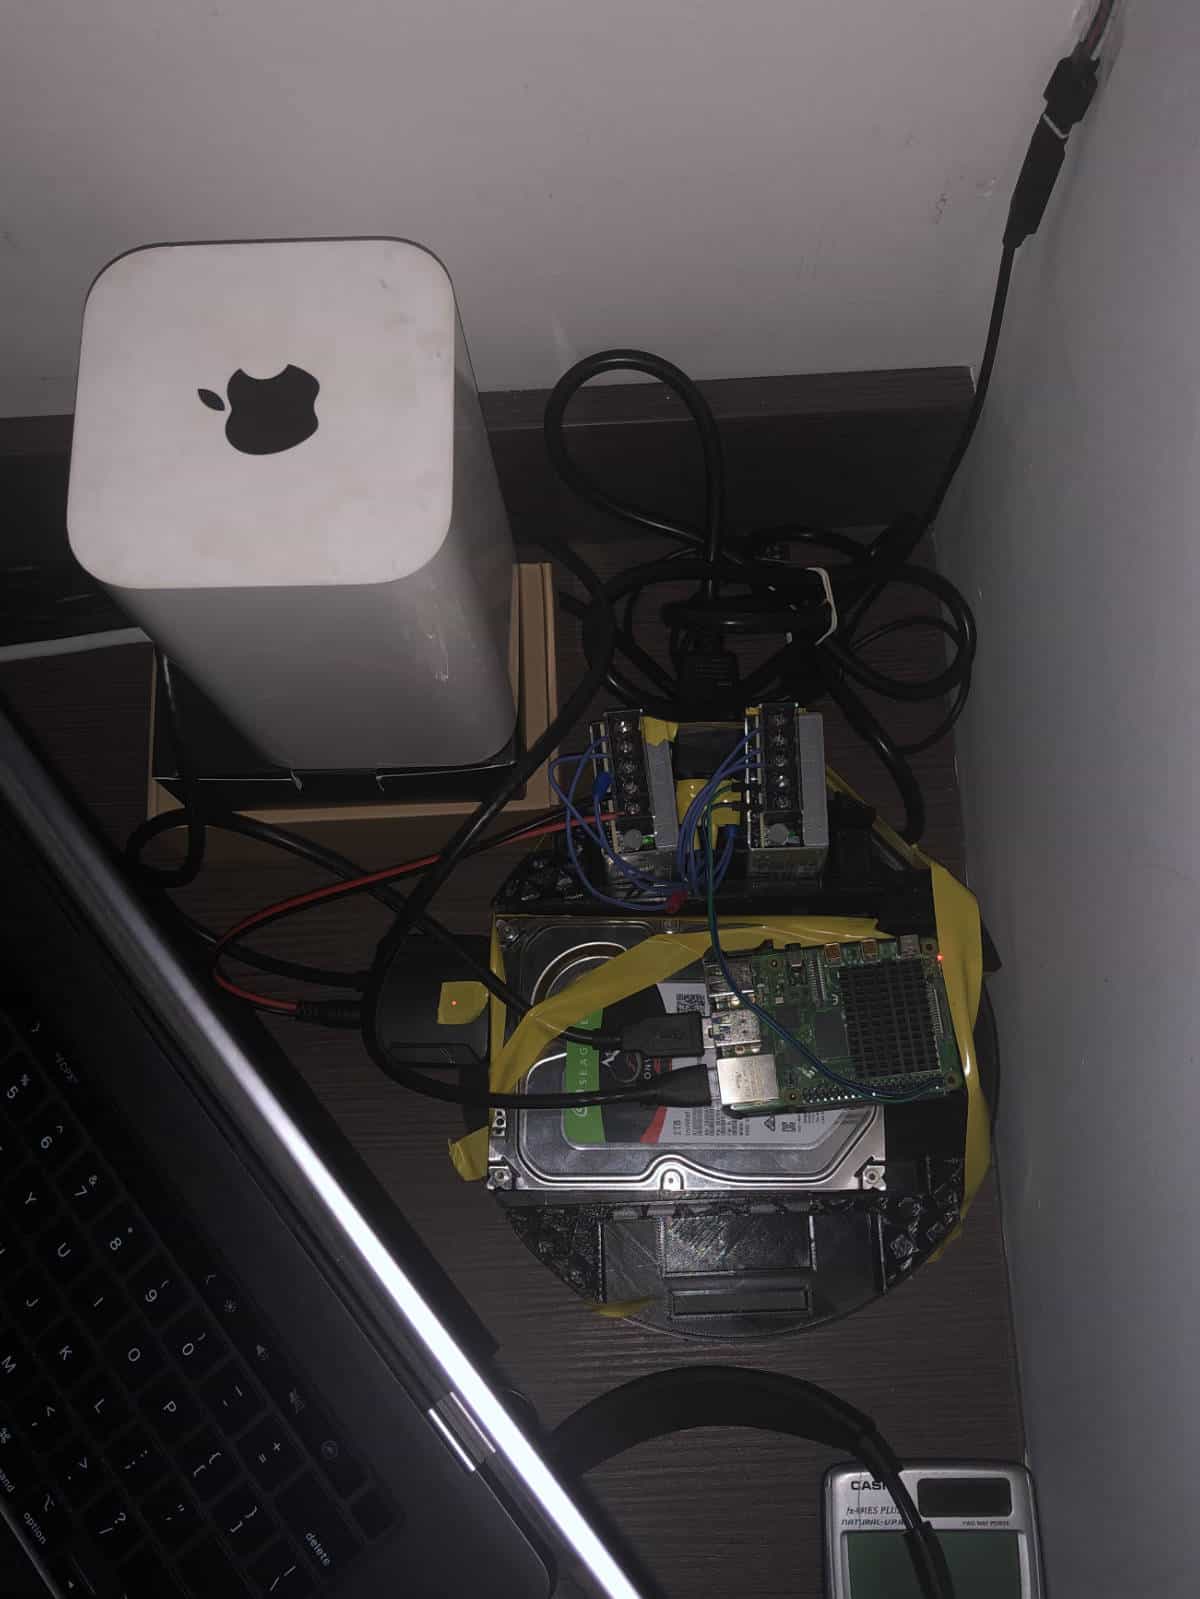
Failed prototype being used as a test bench
Failed prototype; Very difficult to remove 3D printing supports
Assembly
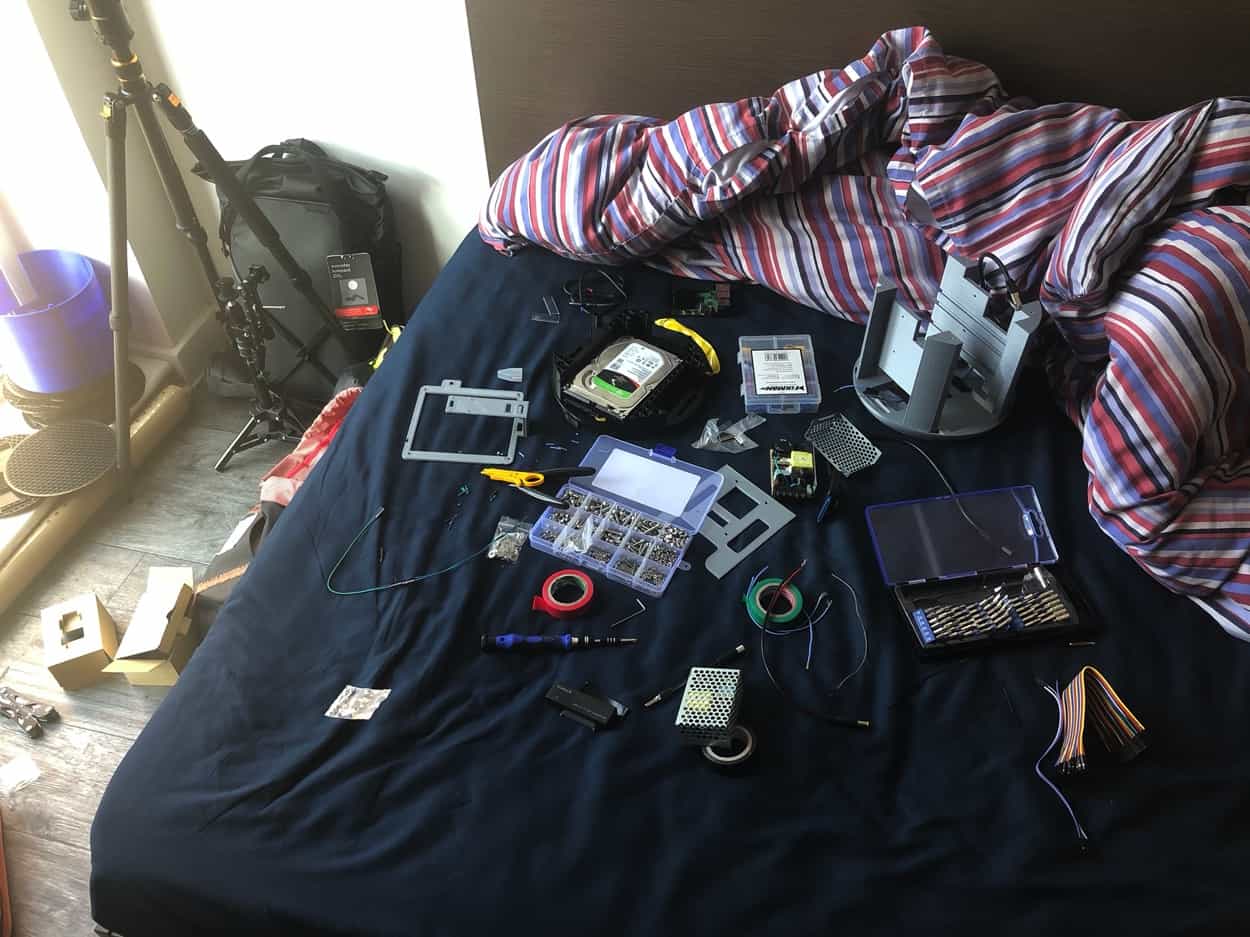
My Workbench...work-bed...bed
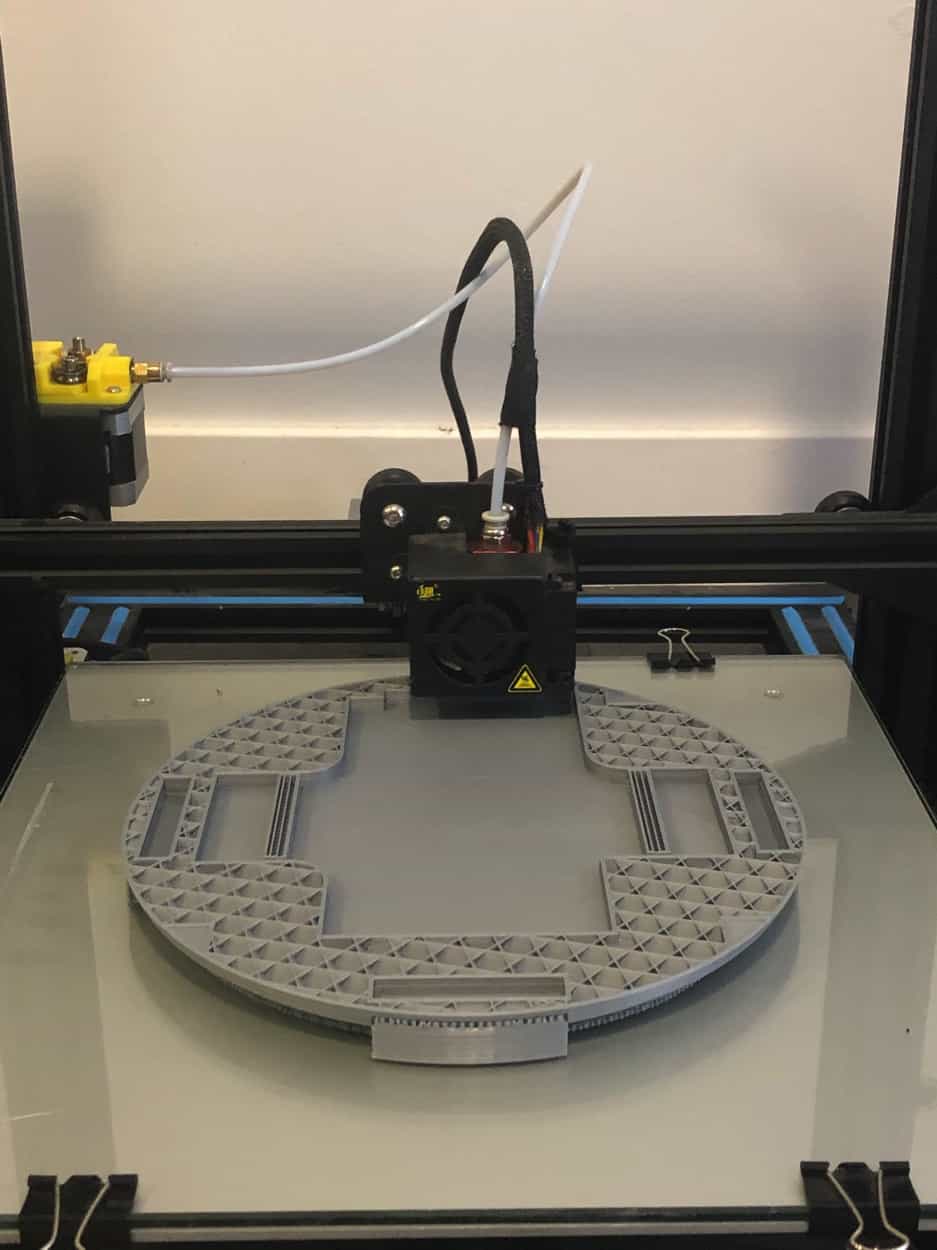
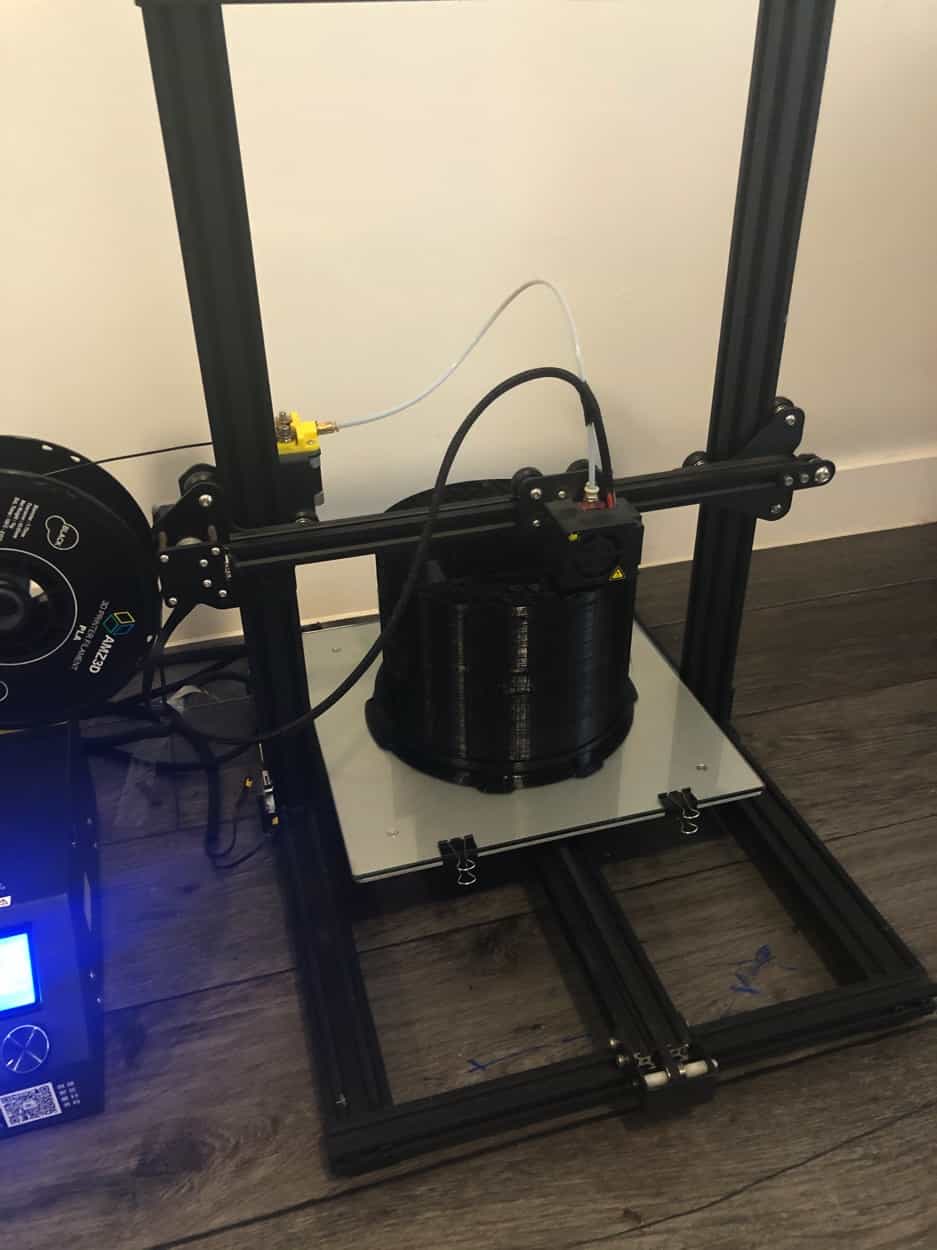
Printing PiServer 1.0
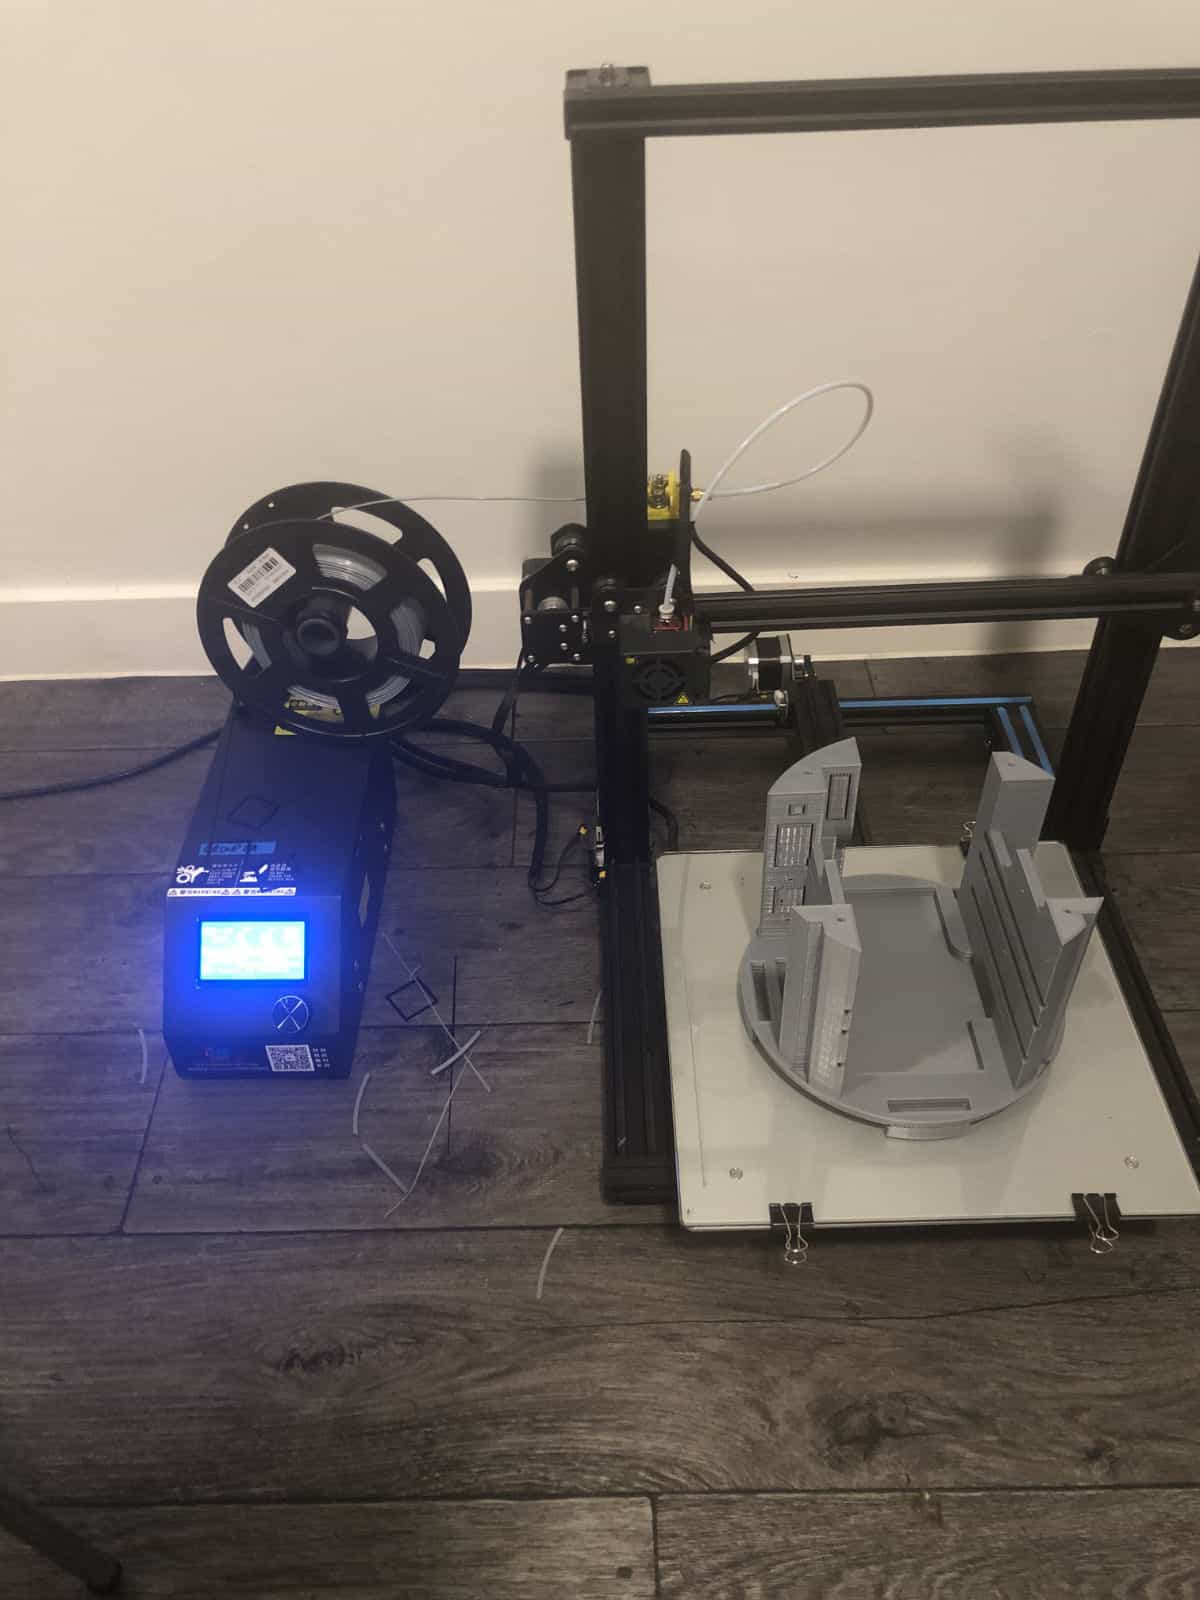
PiServer 1.0 print complete. Print time: 2 Days, 20 Hours
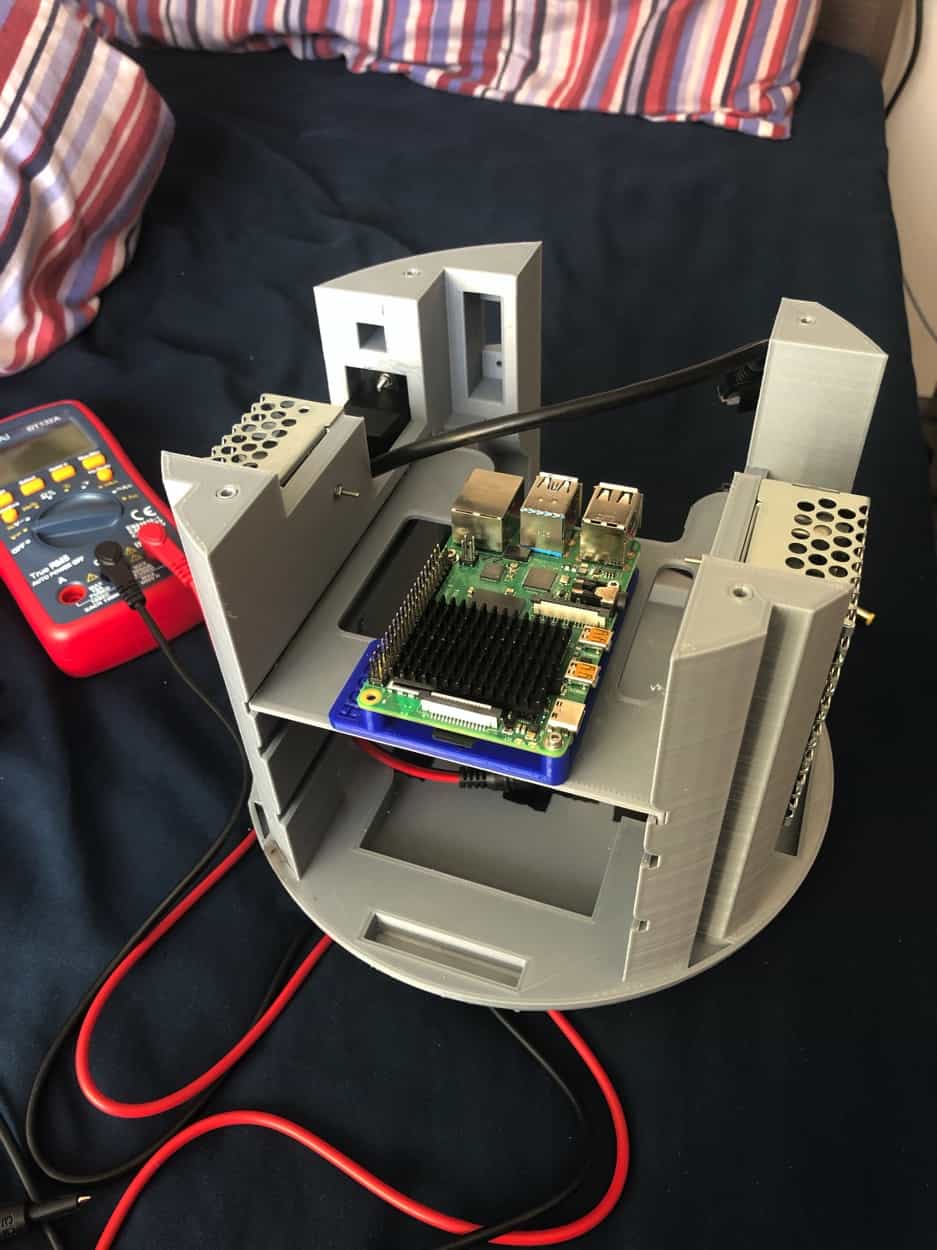
PiServer top tray with Raspberry Pi 4
Laying wires in recessed wire area
Wiring up the left side
Wiring up the right side
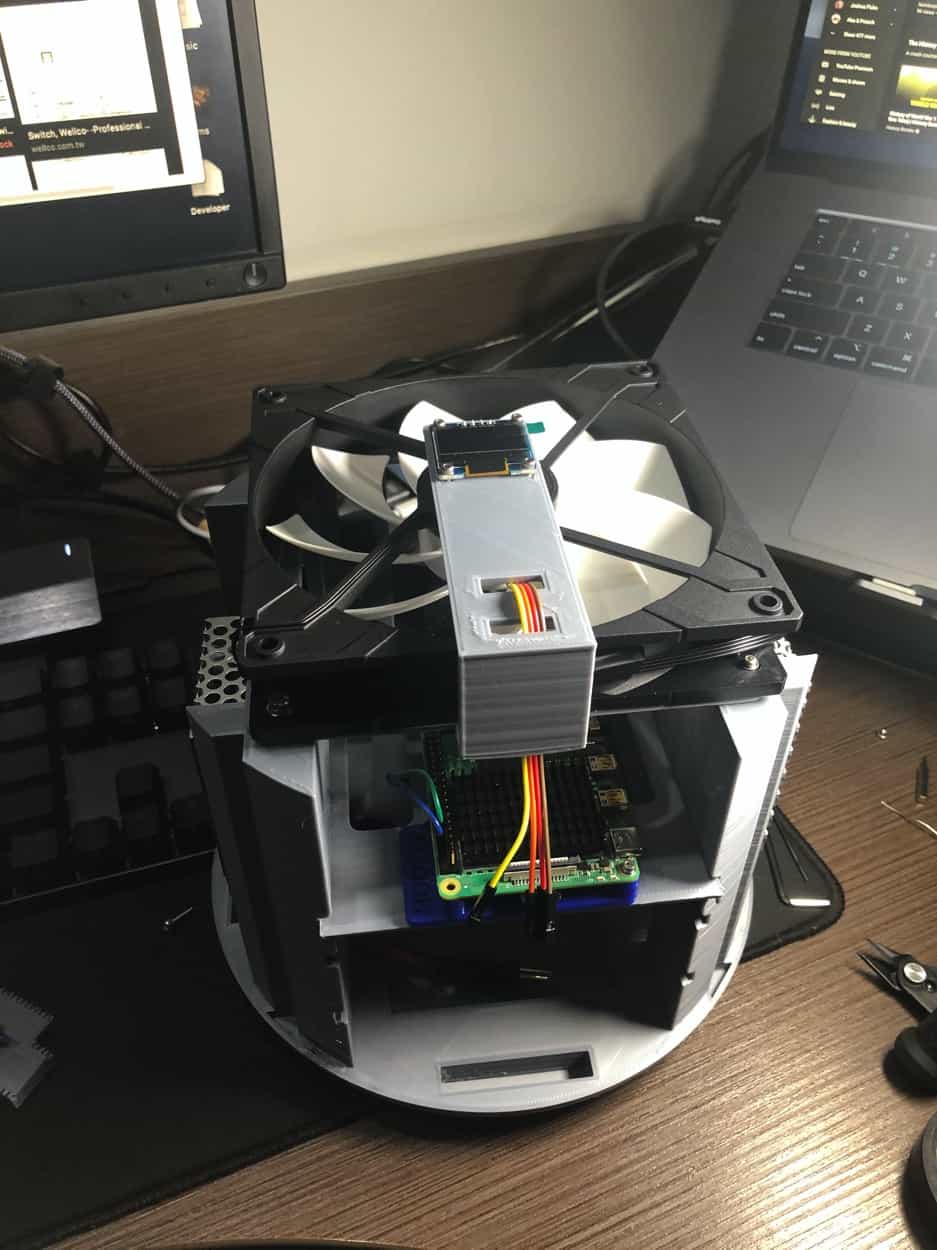
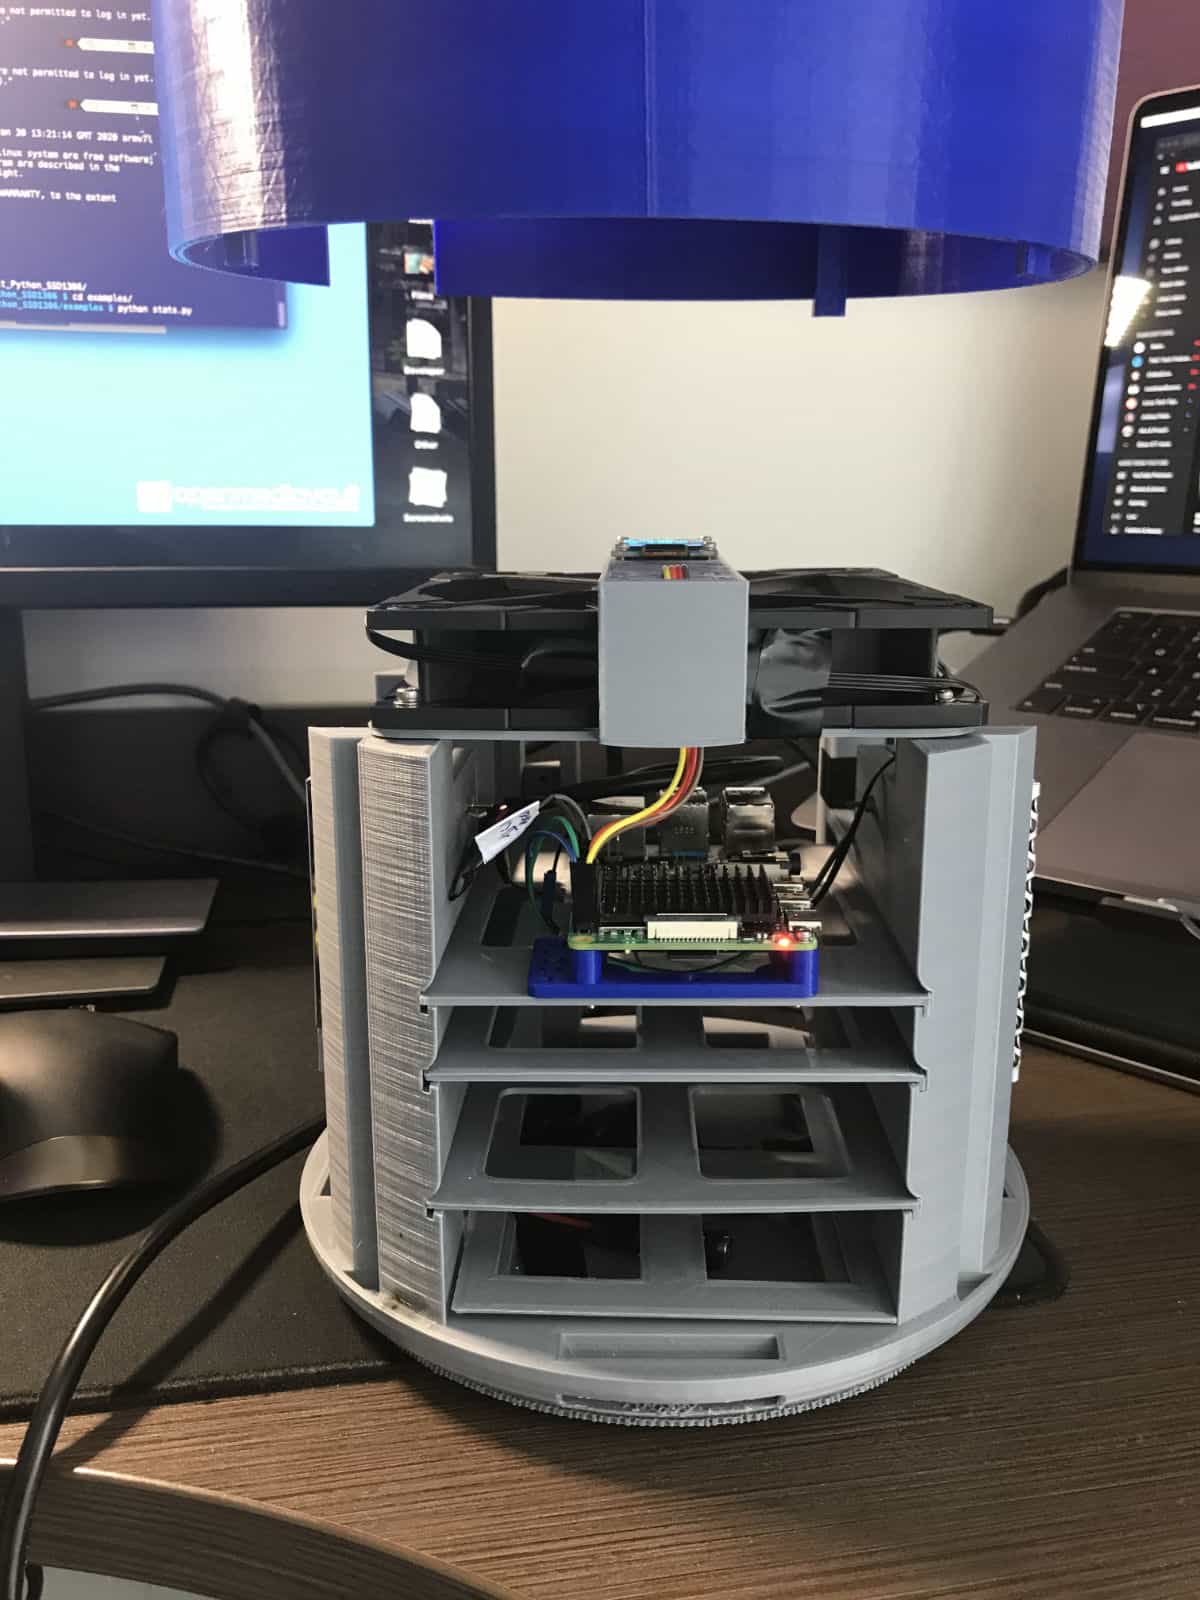
Mounting the fan on PiServer
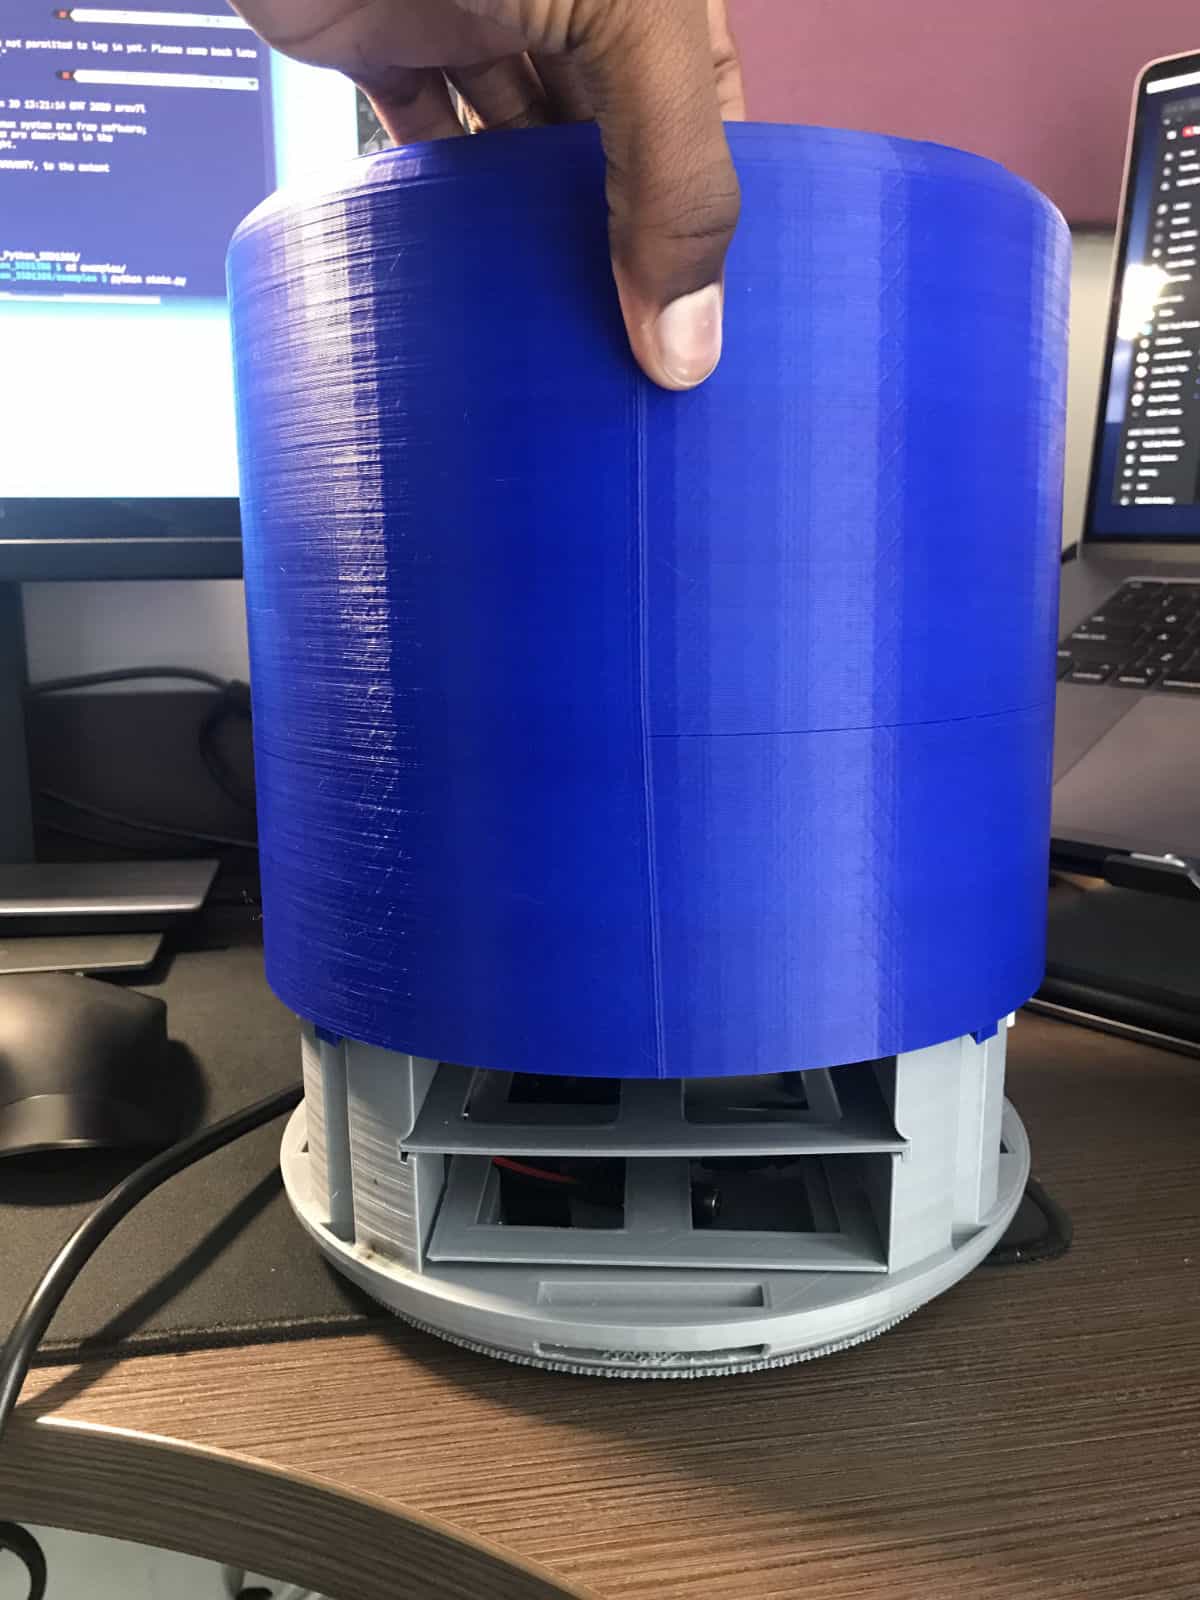
Placing PiServer outer casing; Very gracious tolerance given to avoid needing to print another
PiServer with its outer casing hovering above it
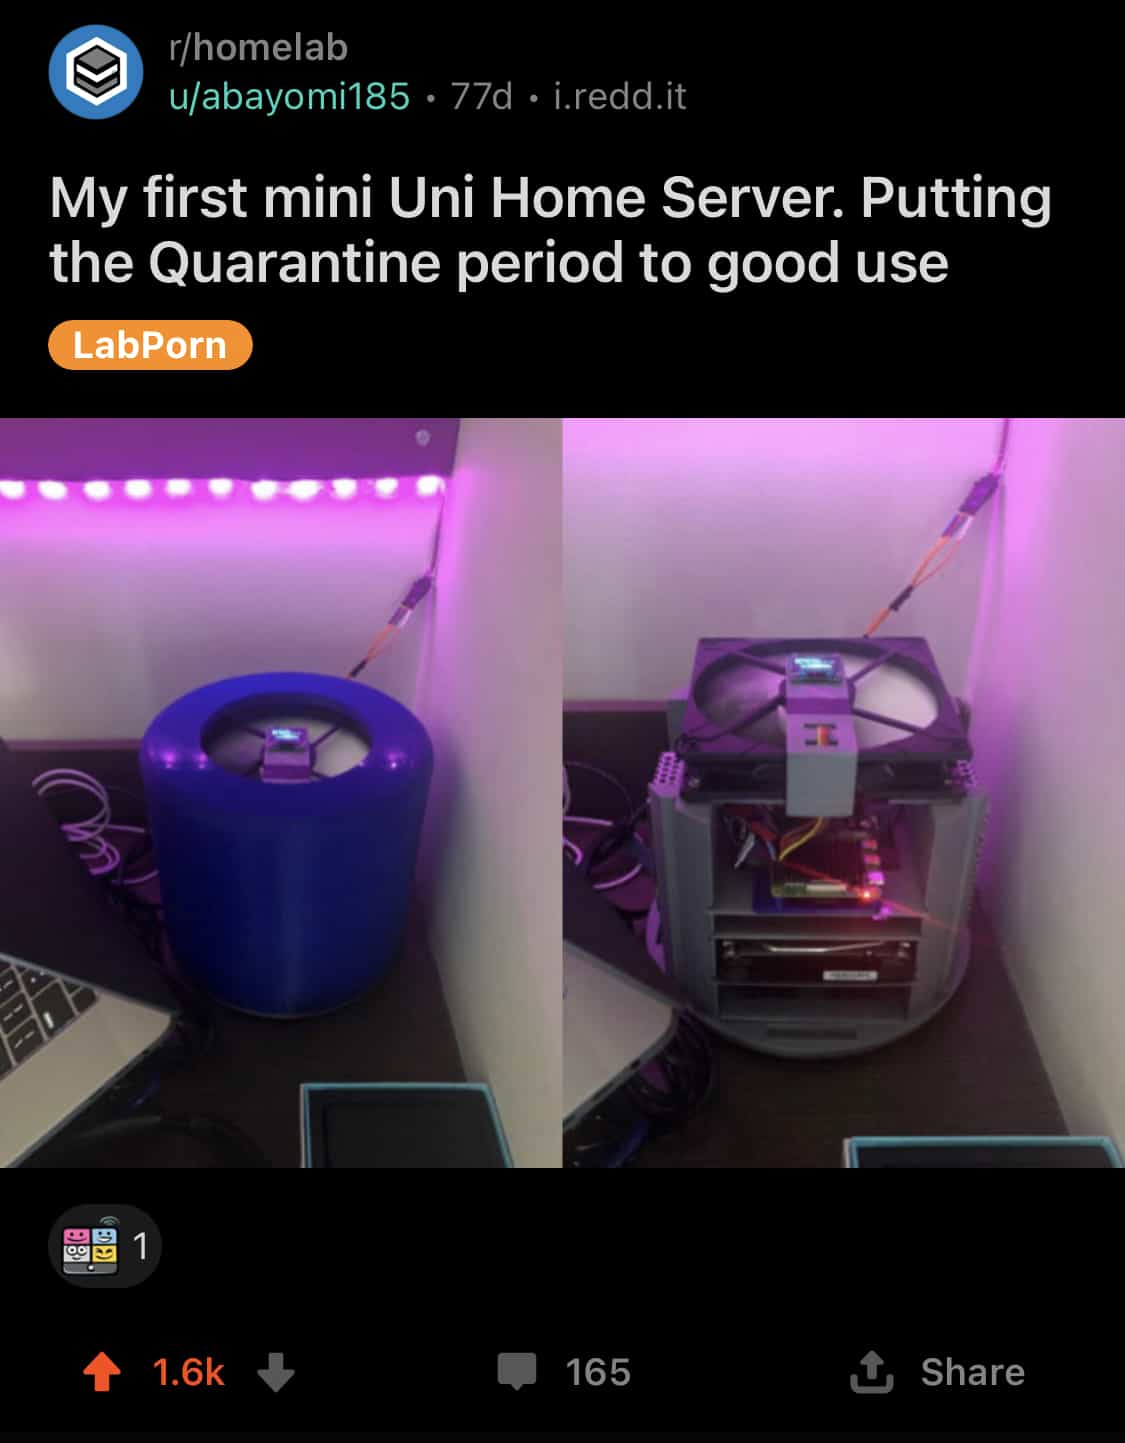
Reddit-fame
OLED & Fan Software Setup
Initial introductory video to Instagram Story
CAD Design Animation of an intial prototype design
Extra Clips